A webinar teleprompter works best as a flexible speaking map, not a transcript that controls every second. Script the opening, transitions, facts, offer, and closing word for word. Use compact bullet prompts for demonstrations and audience interaction. Place a narrow reading window near the webcam, choose speech-aware scrolling for variable sections, and rehearse the handoff between slides, polls, demos, and questions.
TL;DR: Divide the webinar into modules → write exact copy only where precision matters → add visible cues for slides, polls, demos, and Q&A → keep 2 to 4 short lines near the camera → use voice-paced movement for interactive sections → test the audience view and your backup plan before going live.
What Should You Script in a Webinar?
A webinar combines several delivery modes: direct-to-camera speaking, slides, product demonstrations, chat responses, polls, and open questions. Treating all of them as one continuous speech makes the script fragile. One interruption can leave the speaker searching for the correct paragraph.
Use three levels of detail instead:
Webinar section | Recommended script detail | Why |
|---|---|---|
Opening and agenda | Exact wording | The first 60 to 90 seconds establish credibility and expectations. |
Core teaching points | Short spoken paragraphs | You need structure but still want natural explanation. |
Statistics, names, prices, dates | Exact wording | Precision matters more than improvisation. |
Product demonstration | Action cues plus bullets | Loading time and navigation can change the pace. |
Polls and audience prompts | Exact question plus pause cue | A clear instruction produces better participation. |
Q&A | Topic prompts only | Answers must respond to the actual question. |
Offer and closing | Exact wording | Benefits, deadlines, links, and calls to action must be accurate. |
This layered approach gives you a reliable opening and close without forcing live interaction into a rigid timeline.
Build the Script Around Webinar Modules
Create one clearly labeled block for each production moment. Labels should describe actions, not just topics. For example:
[CAMERA: OPENING] Welcome attendees and state the outcome.
[SLIDE 2: AGENDA] Preview the three sections.
[POLL 1] Ask the question, launch the poll, and wait 20 seconds.
[DEMO: DASHBOARD] Open the sample account and show the workflow.
[SLIDE 8: SUMMARY] Restate the three takeaways.
[Q&A] Stop automatic movement and answer from topic prompts.
[CAMERA: CLOSE] Give the next step and final call to action.
Put each label on its own line and leave a blank line before the next block. The visual break is easier to find after an interruption than a subtle paragraph change.
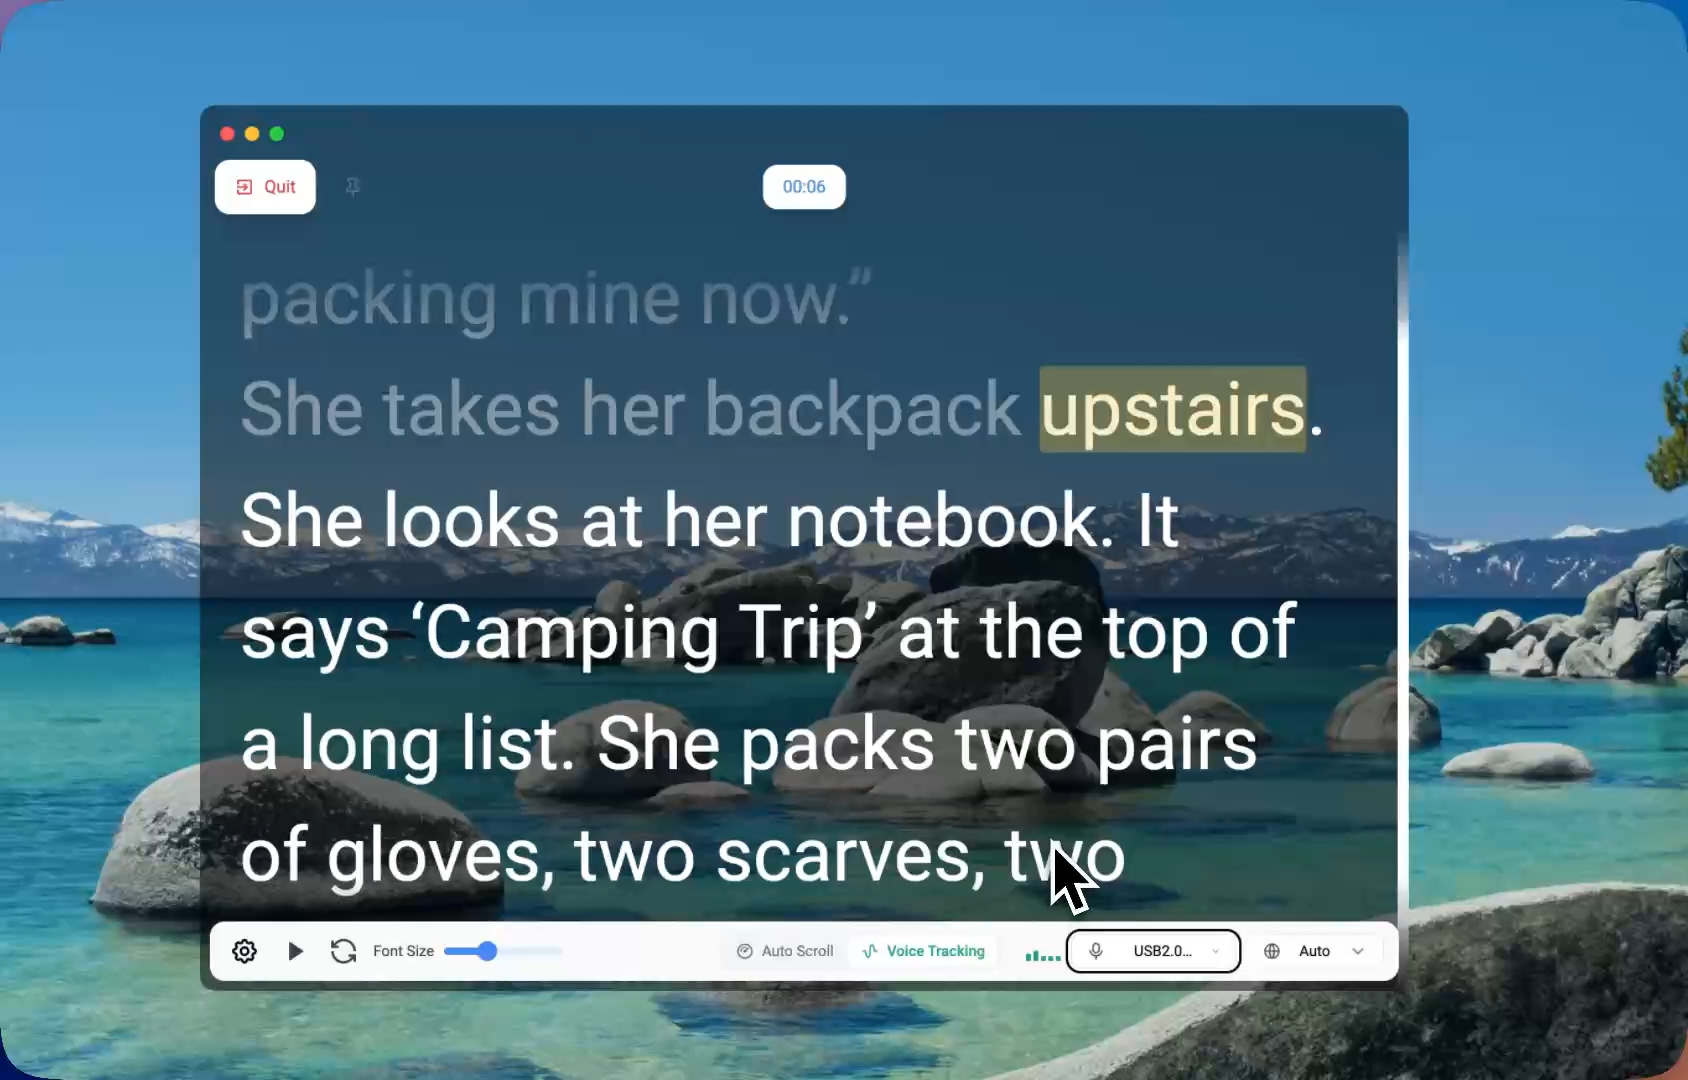
Organize the script by production moment so slide changes, polls, and demonstrations have visible checkpoints.
How Long Should the Opening Be?
A practical webinar opening is about 60 to 90 seconds. It should answer four questions quickly:
Who is this session for?
What result will attendees get?
What will the session cover?
When and how should people ask questions?
Write this section in full because it contains logistics and promises. Keep sentences short enough to say in one breath. If the opening takes more than two minutes before delivering useful content, cut biography and background details that do not help the attendee decide to stay.
Position the Prompt Near the Webcam
On a laptop, start with a narrow window directly below the webcam. Show about 2 to 4 short lines at once and keep the active line within roughly 5 cm (2 inches) of the lens. Use these measurements as setup baselines, then adjust for screen size, eyesight, and speaking distance.
A wide reading panel encourages side-to-side eye movement. A panel near the bottom of the screen makes you look down. The best position is the smallest comfortable reading area close to the physical camera, not necessarily the center of the monitor.

A compact lens-adjacent overlay reduces visible eye movement while leaving the webinar interface available.
Use a font size of at least 32 px as an initial laptop setting. Increase it if you sit farther away. Shorten each line rather than stretching text across the display.
Choose the Right Scrolling Method for Each Section
Webinars rarely maintain one pace from start to finish. Use the scrolling method that matches the current module.
Section | Best control | Reason |
|---|---|---|
Rehearsed opening | Auto Scroll | The timing is known and linear. |
Main teaching segment | Voice-paced movement | You can pause to explain without chasing the text. |
Live demonstration | Voice-paced or manual | Navigation and loading times vary. |
Poll | Pause | The audience needs time to respond. |
Q&A | Manual or stopped | The next words depend on the question. |
Closing offer | Auto Scroll or voice-paced | Accuracy and confident pacing both matter. |
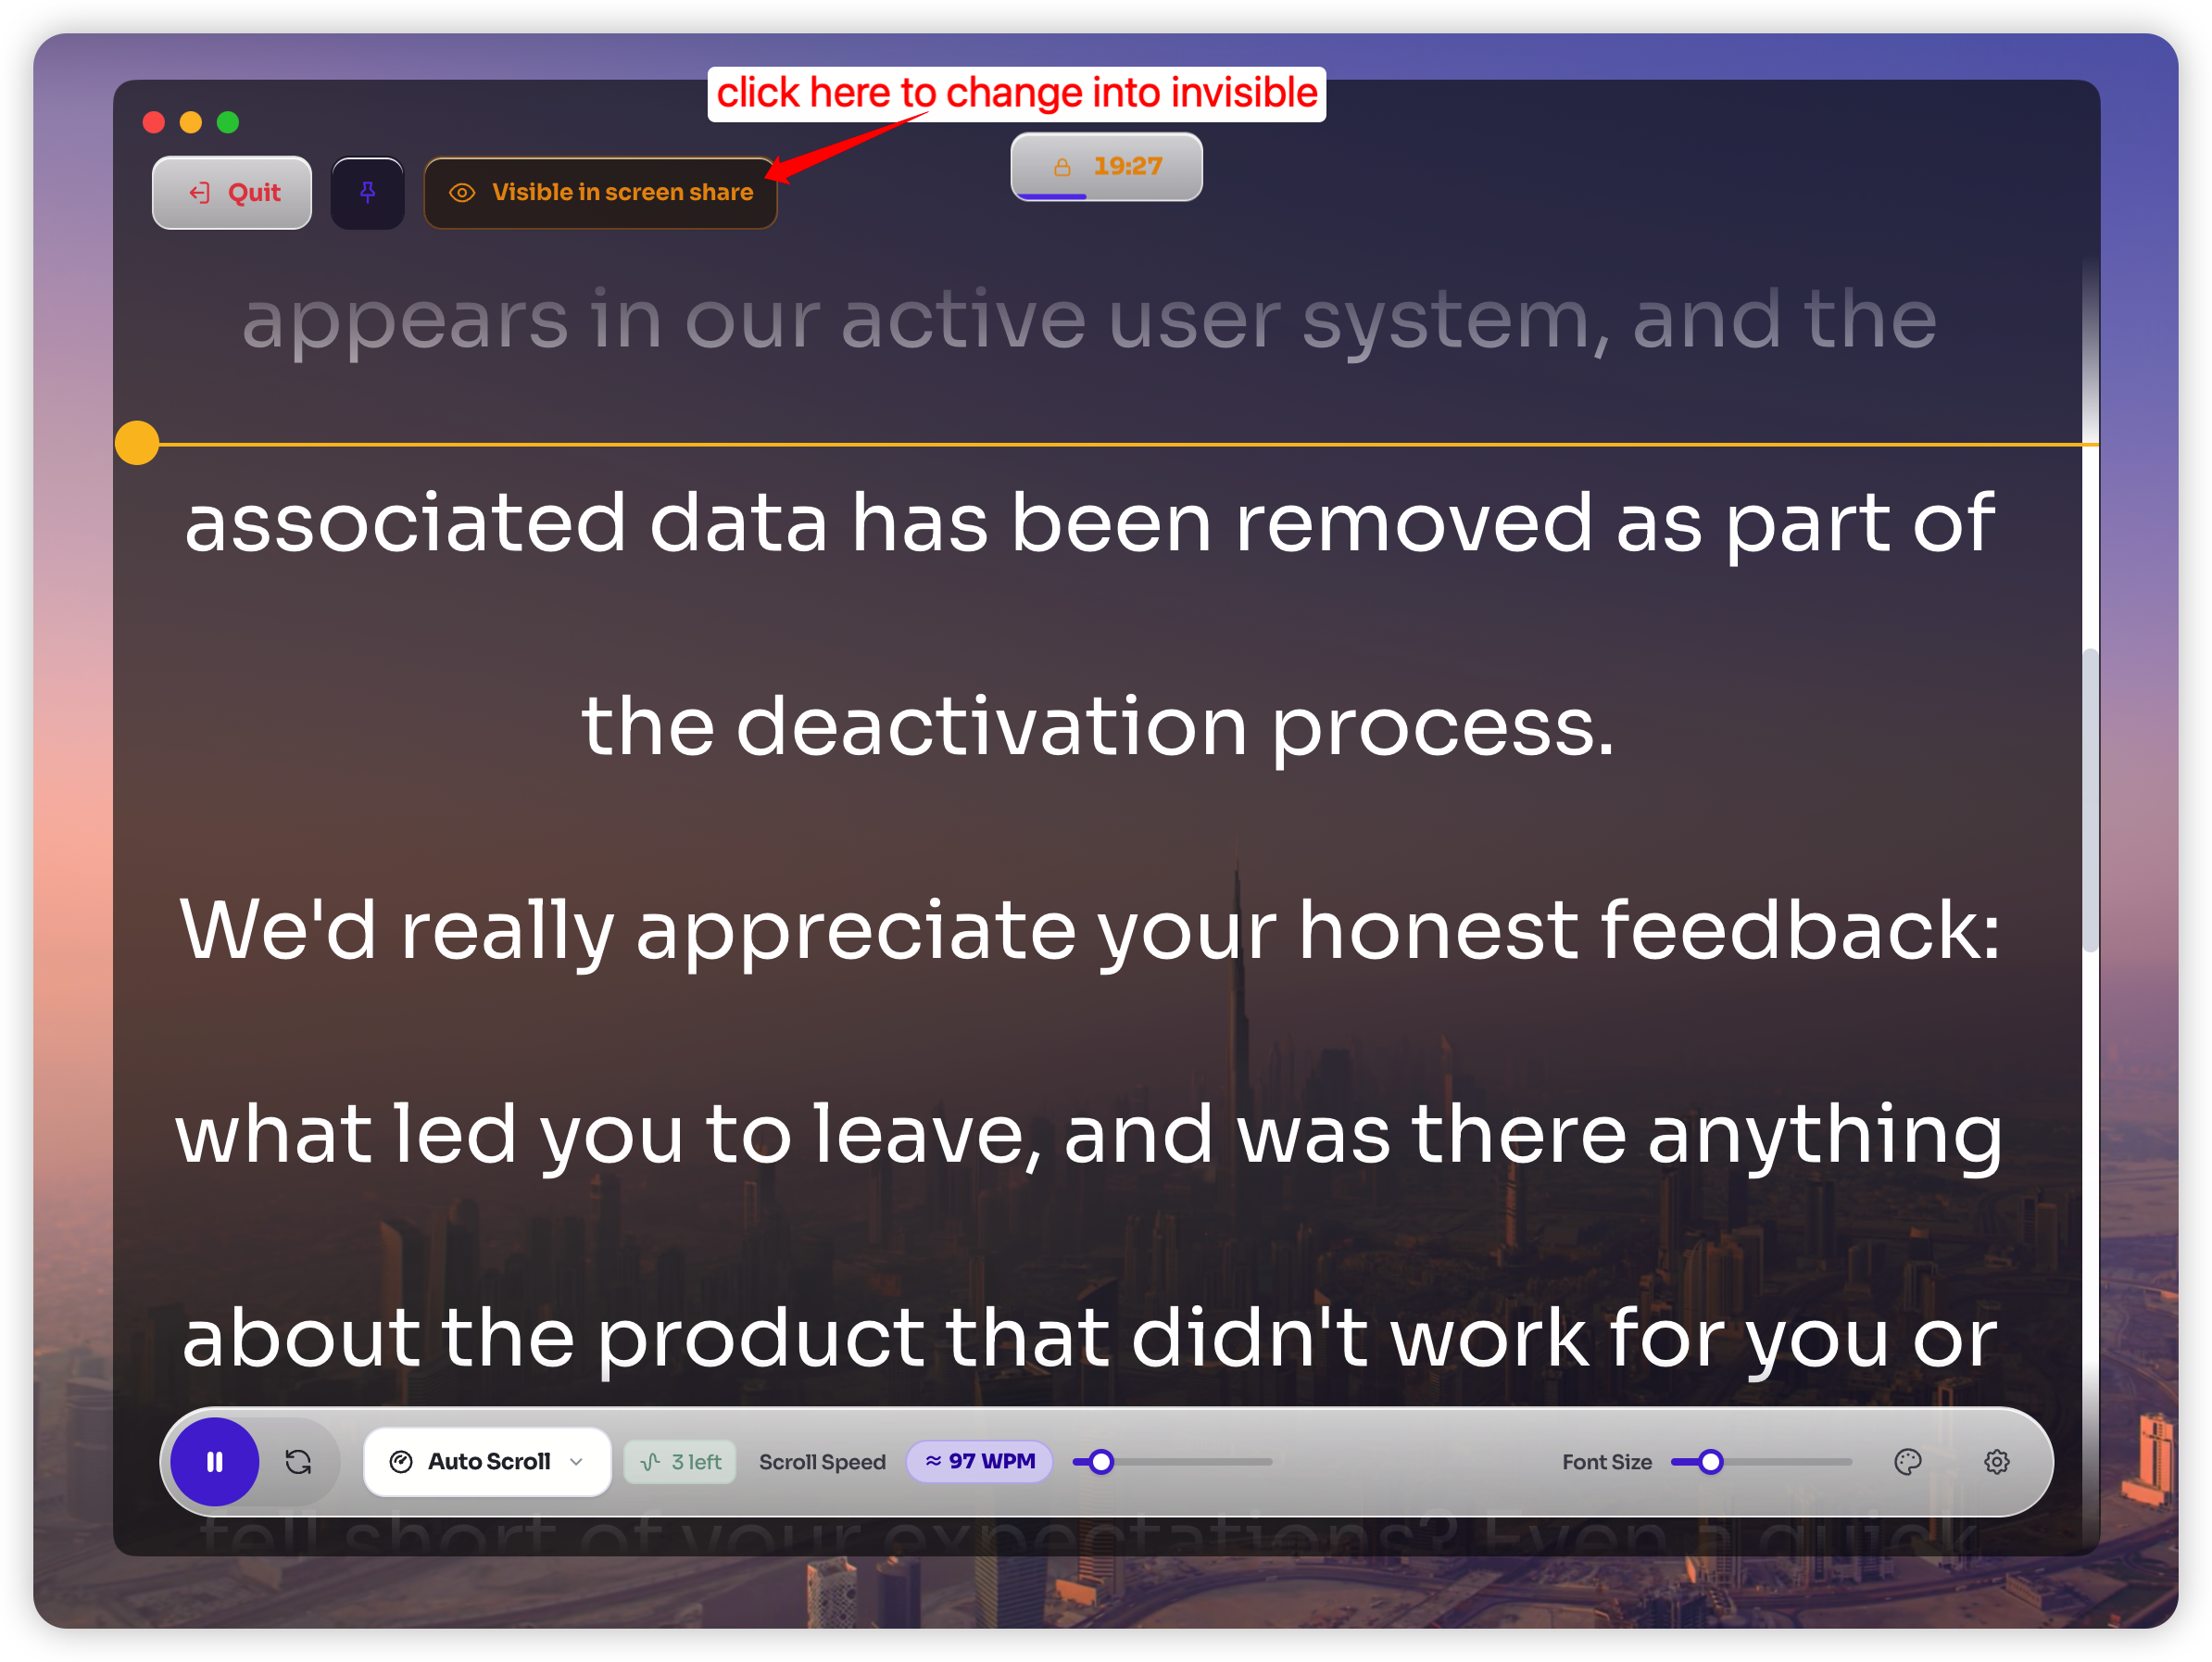
Adaptive movement is useful when interaction changes the pace; steady movement suits rehearsed segments.
In FlowPrompter, prepare the material, click Prompter, and choose the control method that matches the segment. When switching to Q&A, stop movement completely rather than letting unused copy drift upward while you listen.
Write Slide Transitions as Spoken Bridges
A slide title tells the audience what appears next; it does not automatically create a natural spoken transition. Add one bridge sentence before each major slide change. Examples:
“Now that we have identified the problem, let us look at the three causes.”
“That explains the strategy. Next, I will show the exact workflow.”
“Before we move to questions, here are the three points to remember.”
Place the slide cue after the bridge if you change slides at the end of the sentence. Put it before the bridge if the new visual must appear first. Choose one convention and use it throughout the webinar.
How Do You Handle Polls and Audience Interaction?
Script the instruction, not the outcome. A poll block can contain four lines:
The exact question.
Where attendees should click.
A pause cue with an approximate wait, such as [WAIT 20 SECONDS].
Two possible follow-up sentences: one for a clear result and one for a mixed result.
Do not write a fake reaction before seeing the answers. Instead of scripting “Most of you chose option B,” prepare conditional prompts such as “There is a clear preference here” and “The answers are more evenly divided than expected.”
Prepare a Demonstration That Can Recover From Delays
Product demos create the greatest timing uncertainty. Replace long narration with checkpoints:
State what the audience is about to see.
Perform one action.
Explain the visible result.
Connect the result to the webinar promise.
Move to the next checkpoint.
Add fallback text for common delays: [IF LOADING: summarize the expected result] or [IF DEMO FAILS: switch to backup screenshot]. Keep a screenshot or short recorded clip ready for any live step that depends on network access, permissions, or a third-party service.
Can Attendees See the Teleprompter?
That depends on the meeting platform and what you share. Sharing a single slide or application window is generally easier to control than sharing the entire desktop. A transparent overlay is not automatically excluded from every capture method.
Run a private rehearsal using the exact webinar platform, operating system, monitor arrangement, and share source planned for the event. Join from a second device and confirm what attendees see while you:
Show the opening slide.
Change slides.
Launch a poll.
Switch to the demonstration app.
Return to the closing slide.
If your platform offers window sharing, select only the content attendees need. Microsoft and Google both distinguish between sharing a screen and presenting a specific source; consult the official documentation for your webinar platform before the event. For example, Microsoft explains source selection in its Teams presentation guide, and Google documents its choices in the Google Meet presentation guide.
Rehearse the Transitions, Not Just the Speech
A useful rehearsal tests the production workflow as well as the words. Complete at least 1 full technical run and 1 delivery run.
During the technical run, verify microphone, camera, slides, polls, links, permissions, recording, and the attendee view.
During the delivery run, time the opening, main modules, demonstration, Q&A allowance, and closing.
Mark sections that consistently run long. Cut repeated explanation before increasing scroll speed. Faster text may save seconds, but it often makes delivery less natural.
Use a Backup Plan
Keep a one-page outline outside the prompter with the webinar's essential checkpoints: opening promise, module titles, demonstration outcome, offer, link, and closing line. If voice recognition, microphone access, or the overlay fails, you can continue without rebuilding the event live.
Your backup should not be another full transcript. It should fit on one screen or one printed page and help you recover the structure.
Frequently Asked Questions
Should I script an entire webinar word for word?
No. Use exact wording for the opening, facts, transitions, offer, and close. Use shorter prompts for demonstrations and interaction so you can respond naturally.
What is the best teleprompter mode for webinars?
Use voice-paced movement for variable sections and steady automatic movement for rehearsed sections. Stop or switch to manual control during Q&A.
Where should the teleprompter go during a webinar?
Place a narrow reading area directly below or beside the physical webcam. Keep only a few short lines visible to minimize eye movement.
How do I avoid losing my place after questions?
Divide the material into labeled modules, insert blank lines between them, and stop movement before interaction. Return to the next visible module label when the discussion ends.
Will the prompt appear in the webinar recording?
It depends on the capture source and platform behavior. Test the exact recording and sharing configuration from a second device before going live.
Final Checklist
The opening explains the audience, outcome, agenda, and Q&A process in 60 to 90 seconds.
Slides, polls, demos, and Q&A have visible script labels.
Facts, prices, dates, links, and the call to action are written exactly.
The reading area sits near the webcam and shows 2 to 4 short lines.
Each module uses an appropriate movement method.
A second device confirms the attendee view.
A full technical run and a full delivery run are complete.
A one-page backup outline is ready.
A good webinar teleprompter protects structure and accuracy while leaving room for real interaction. Start with a modular script, keep the words near the camera, and test the complete production path. You can prepare and rehearse this workflow with the desktop version available from the official FlowPrompter website.