To use FlowPrompter with Meet, first open your Meet call, then launch the the desktop app app as a separate application. Create a new script or import an existing one, click Prompter, choose either speech-following mode or steady auto scroll, and position the floating prompt over the Meet window. Use the settings button in the lower-right corner to adjust opacity and turn on the private-window option when you do not want your script to appear in screen sharing, recording, or screenshots.
This is the core workflow. Meet handles the call, camera, microphone, and presentation. FlowPrompter runs separately and places a readable prompt above the Meet interface, so you can see your script and the people in the meeting at the same time.
TL;DR: Open Meet → open FlowPrompter for desktop → create or import a script → click Prompter → select spoken-word control or auto scroll → choose the recognition language if using the adaptive mode → adjust opacity → move the overlay over Meet → enable the capture-hiding setting when sharing or recording.

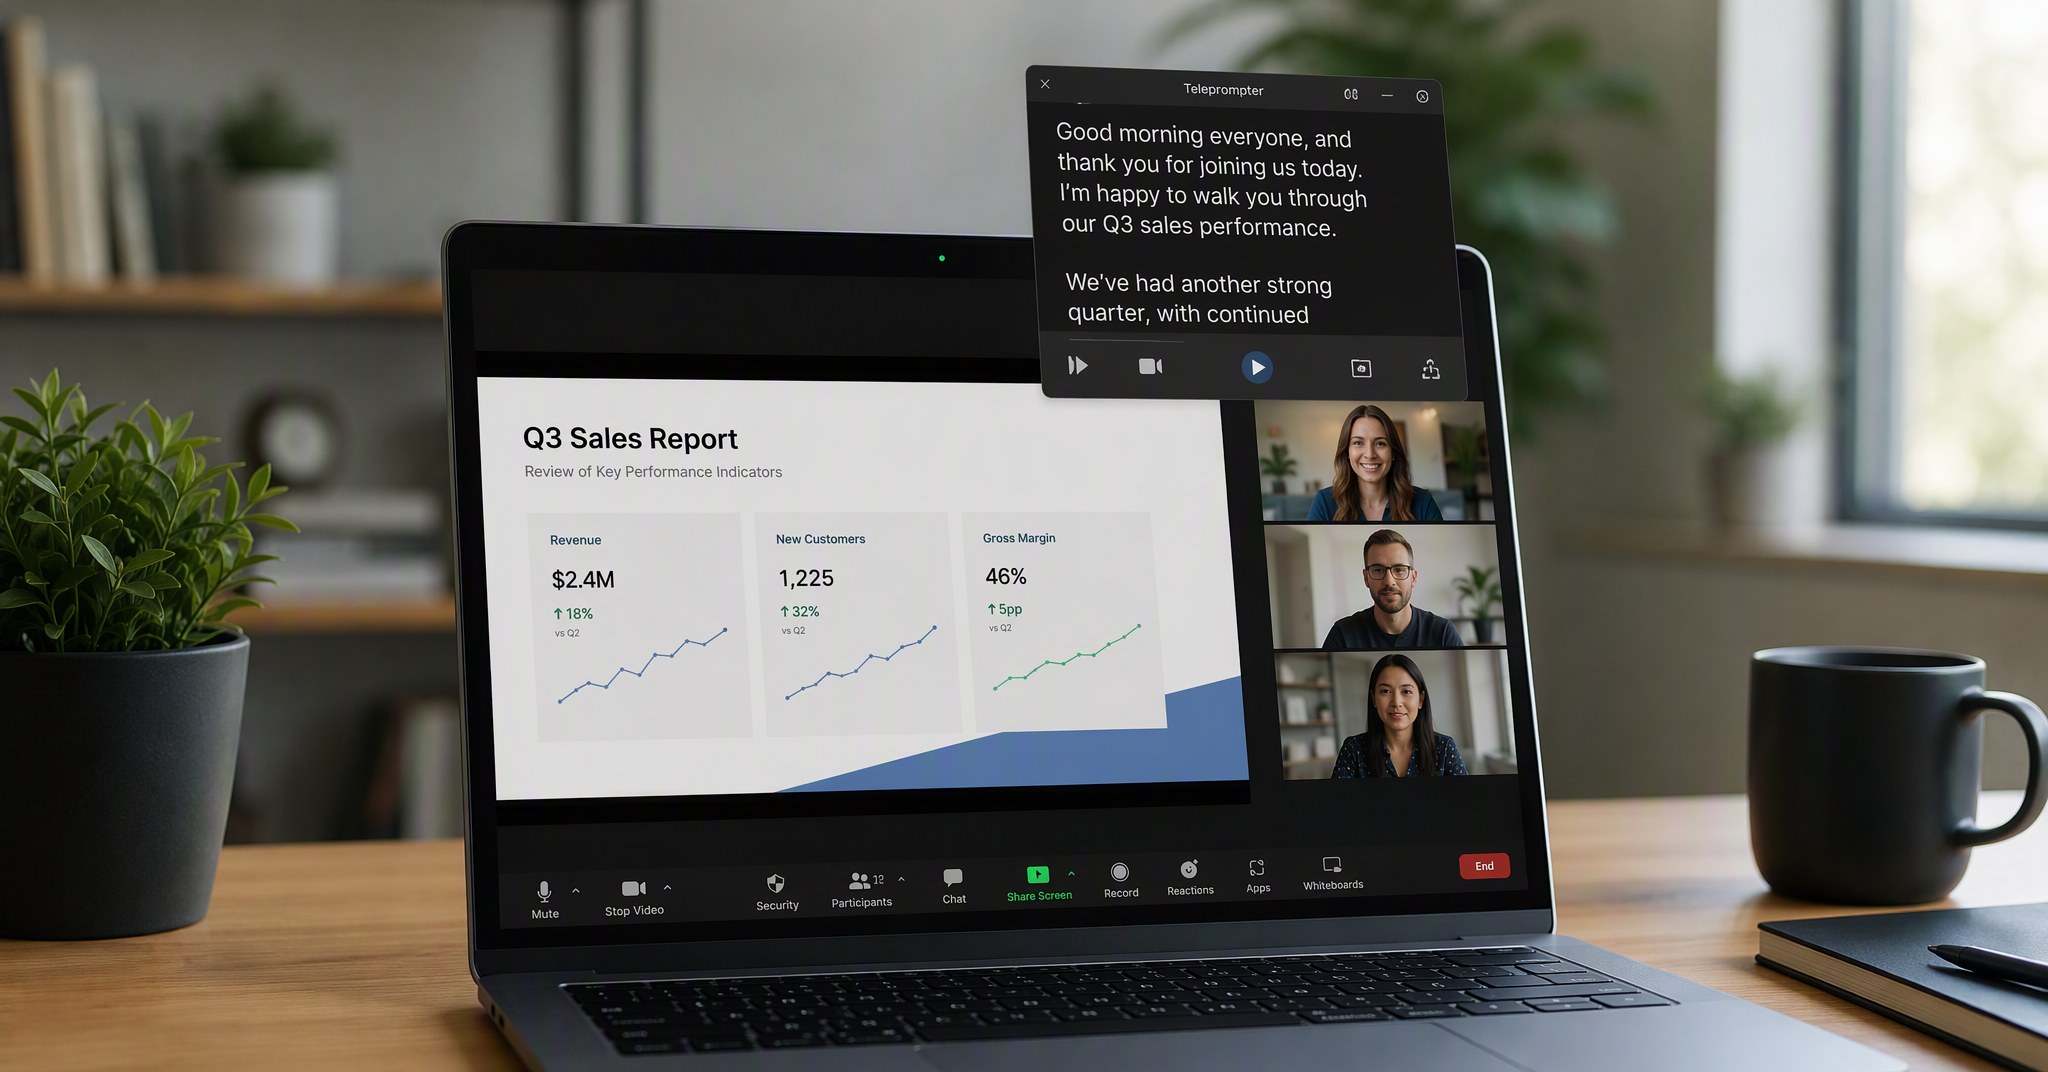
FlowPrompter runs as a separate desktop app and places the overlay over the meeting window.
What Do You Need Before the Call?
Use the the Windows or Mac app app for this workflow. The online version is convenient for drafting and practicing, but the desktop version provides the floating prompt, opacity controls, and private privacy behavior designed for real meetings, recordings, and screen sharing.
Before joining an important call, prepare these items:
The Google Meet link and the camera and microphone you plan to use.
the desktop version installed on your Windows PC or Mac.
Your script as plain text, or the main points you want to turn into a new script.
Microphone permission for FlowPrompter if you plan to use voice-controlled movement.
A brief test call if you will share the screen or record the meeting.
How Do You Set Up FlowPrompter for the Call?
Step 1: Open Meet First
Open Meet in your browser or meeting app and enter the meeting preview or call. Confirm that the correct camera and microphone are selected; Google explains these controls in its Meet camera and microphone guide. Keep the Meet window visible on the screen where you want to read your script.
Opening Meet first makes the final layout easier to arrange. You can see where the participant video, presentation, chat, and controls will appear before placing the overlay above them.
Step 2: Open the application Separately
Launch FlowPrompter as a separate desktop application. Do not look for a teleprompter button inside Meet: the two products run side by side. Meet manages the conversation, while FlowPrompter provides the private reading layer.
Open FlowPrompter for desktop separately from Meet, then prepare your material you want to use.
Step 3: Create a New Script or Import Your Existing Text
In FlowPrompter, create a new script and type your notes, or import an existing document or prepared text. For a live meeting, divide the material into short sections such as opening, agenda, key points, demonstration, questions, and close.
Write for speaking rather than reading. Short sentences and clear paragraph breaks make it easier to maintain eye contact. Keep exact wording for names, figures, prices, dates, compliance statements, and calls to action. Use shorter prompts for sections where you expect a discussion.
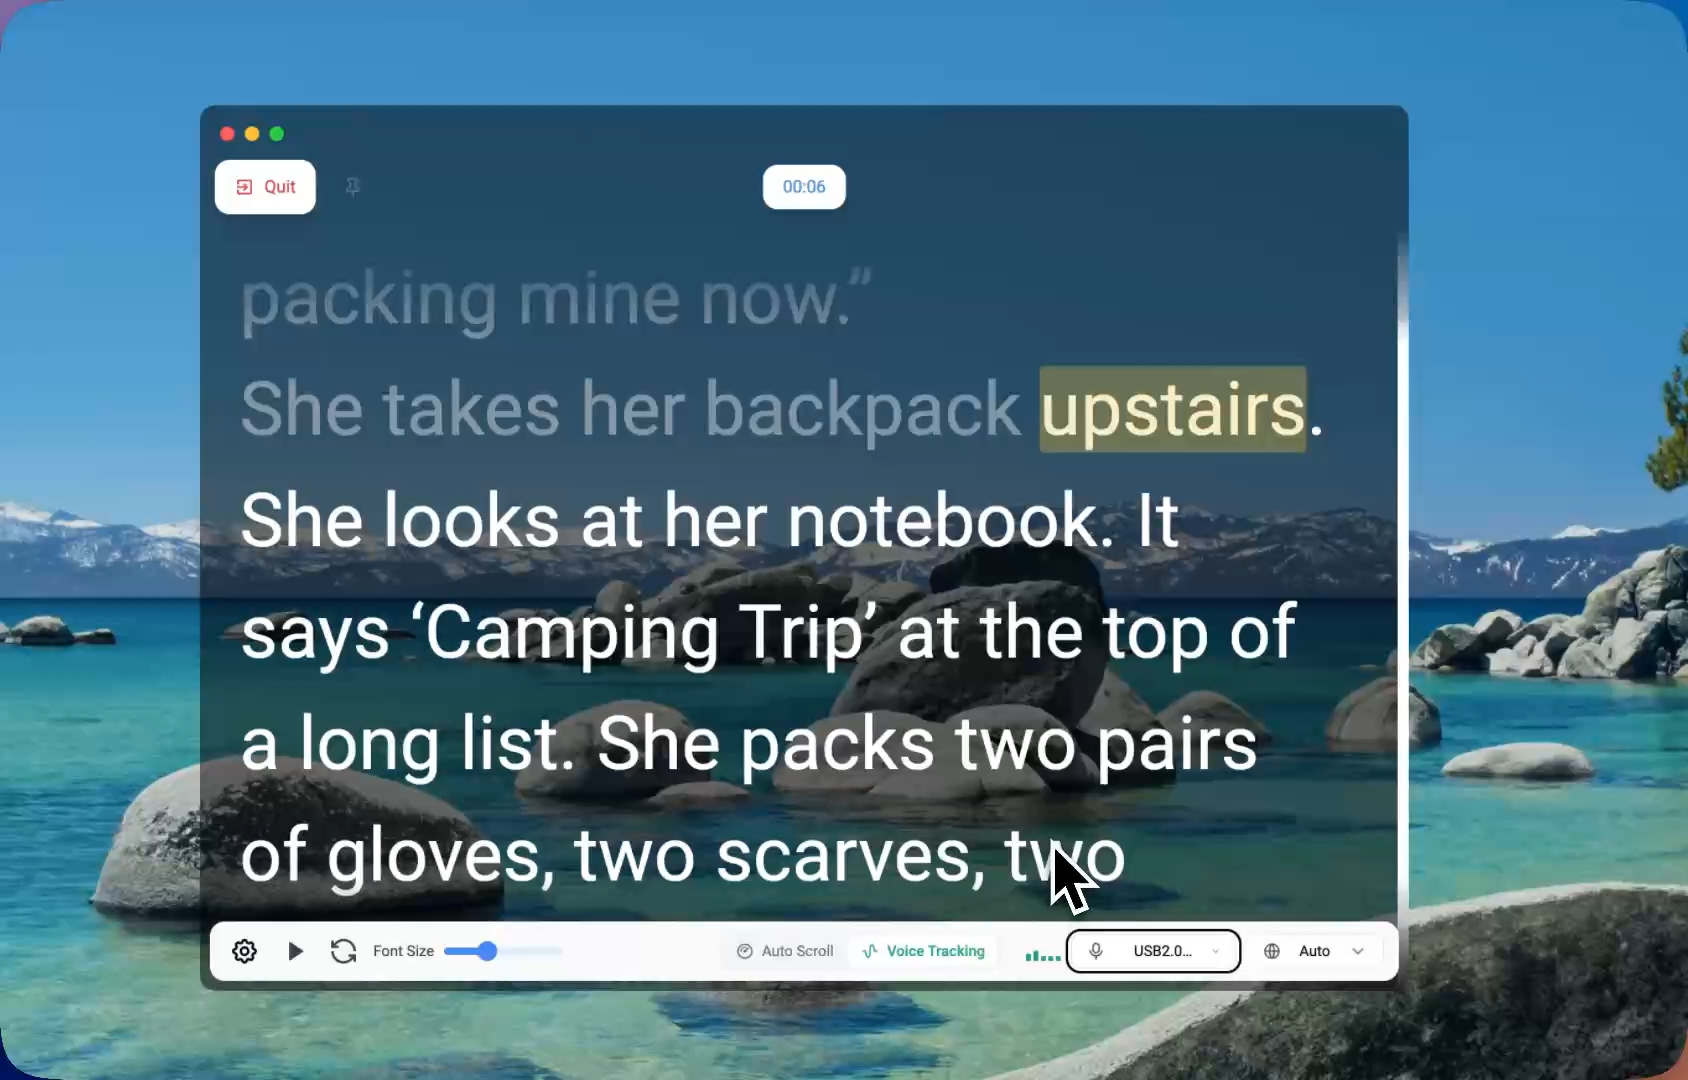
Create a new script or import prepared material before entering prompting mode.
Step 4: Click Prompter
When the copy is ready, click Prompter. FlowPrompter opens the dedicated prompting window. This is the movable window that you will place over Meet.
Resize it so the lines are easy to scan without covering the whole call. A compact window near the webcam helps keep your gaze closer to the camera, while a wider or taller window may be useful when exact wording matters more than direct eye contact.
Step 5: Choose Speech Following or Fixed-Speed Auto Scroll
FlowPrompter provides two main ways to move your notes:
Mode | How it works | Best for |
|---|---|---|
Speech-following mode | The app recognizes your speech and advances with the words you say. | Meetings, interviews, lessons, demos, and presentations with pauses or changing pace. |
Fixed-speed auto scroll | The text moves continuously at the speed you set. | Rehearsed introductions, announcements, timed webinars, and predictable delivery. |
Speech-following mode is usually the more flexible choice for Meet. If you pause to answer a question or explain something on screen, you do not have to race a timer. Auto scroll is useful when your speaking duration is fixed and you have already rehearsed the pace.
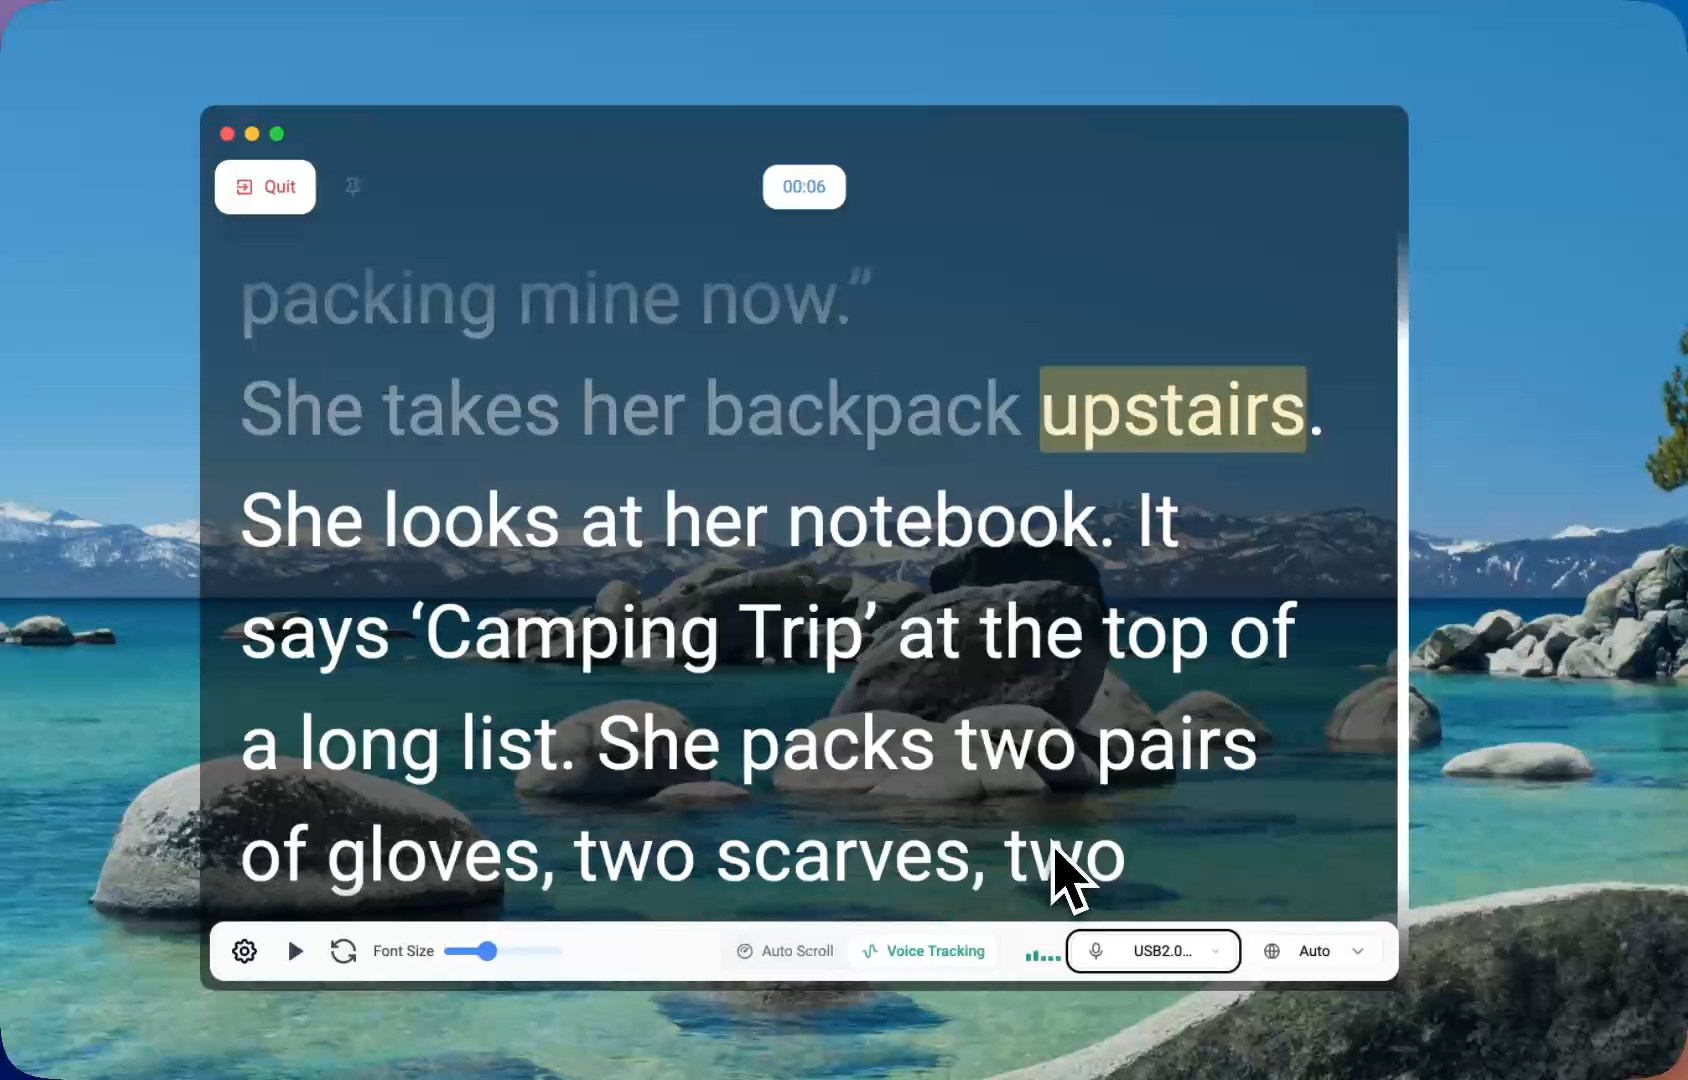
Speech following tracks the speaker, while fixed-speed scrolling moves at a predefined pace.
Step 6: Select the Voice-Tracking Language
If you use the voice option, select the language you will actually speak. According to the official FlowPrompter website, speech recognition currently supports 14 languages:
English
Spanish
German
French
Portuguese
Dutch
Russian
Japanese
Korean
Simplified Chinese
Traditional Chinese
Arabic
Hindi
Malay
Choosing the correct language matters because the reading content advances by recognizing your speech. If the selected language does not match the prepared content and delivery, tracking will be less reliable. Grant microphone permission when requested and test a few lines before the meeting begins.
Step 7: Adjust Transparency in the Lower-Right Settings
Open the settings control in the lower-right corner of the prompting window and adjust its opacity. Lower opacity lets you read the document while still seeing the call underneath. Raise it if the lines becomes difficult to read against a bright slide, participant video, or shared screen.
Transparency and privacy solve different problems:
Transparency controls how much of the Meet interface you can see behind your notes.
Hidden-window mode controls whether the speaking notes appears in supported screen sharing, recording, and screenshots.
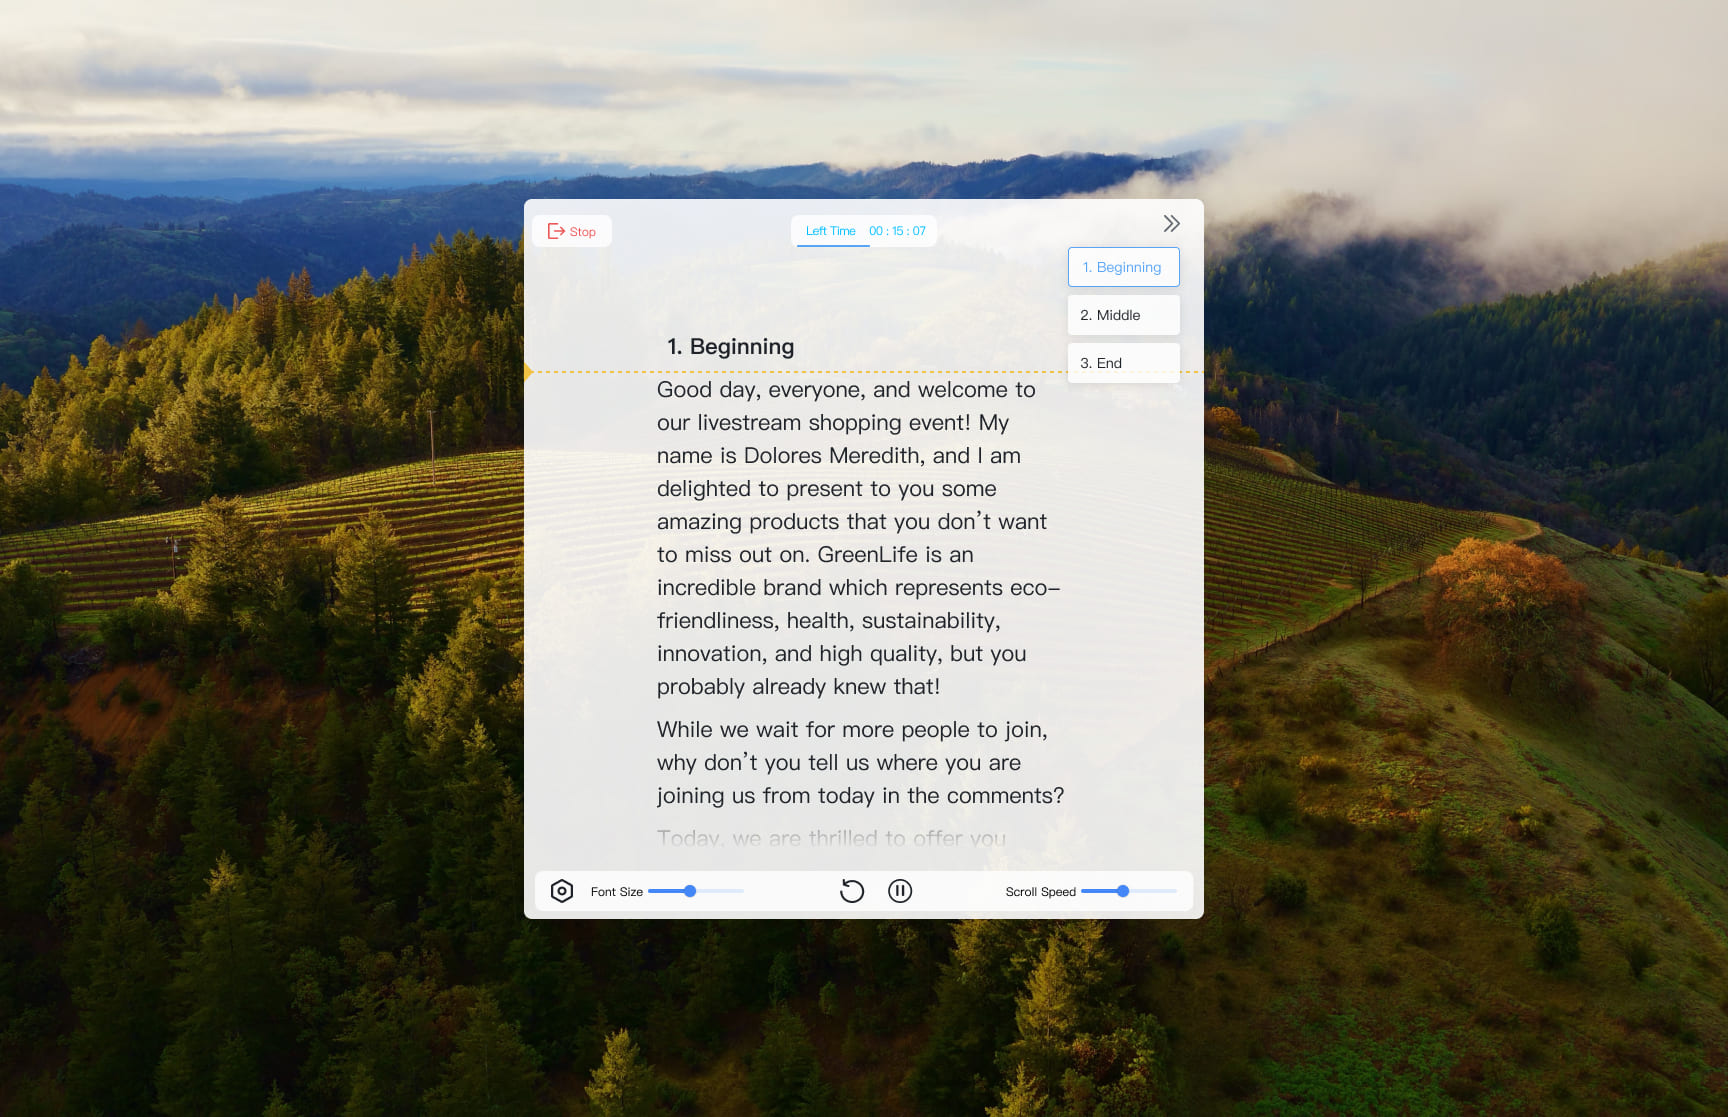
Use the overlay copy settings to balance readability, opacity, and scrolling behavior.
Step 8: Place the Prompt Over the Meet Window
Drag the FlowPrompter window over Meet and position it where you can read comfortably. If maintaining camera contact is important, place the active lines close to the webcam. If you need to monitor a shared presentation or participants, place the material where it does not cover the information you need.
The reading window floats above Meet, so you can continue using the call normally. You can see participants, chat, slides, or a demonstration behind the teleprompter copy after lowering the opacity.
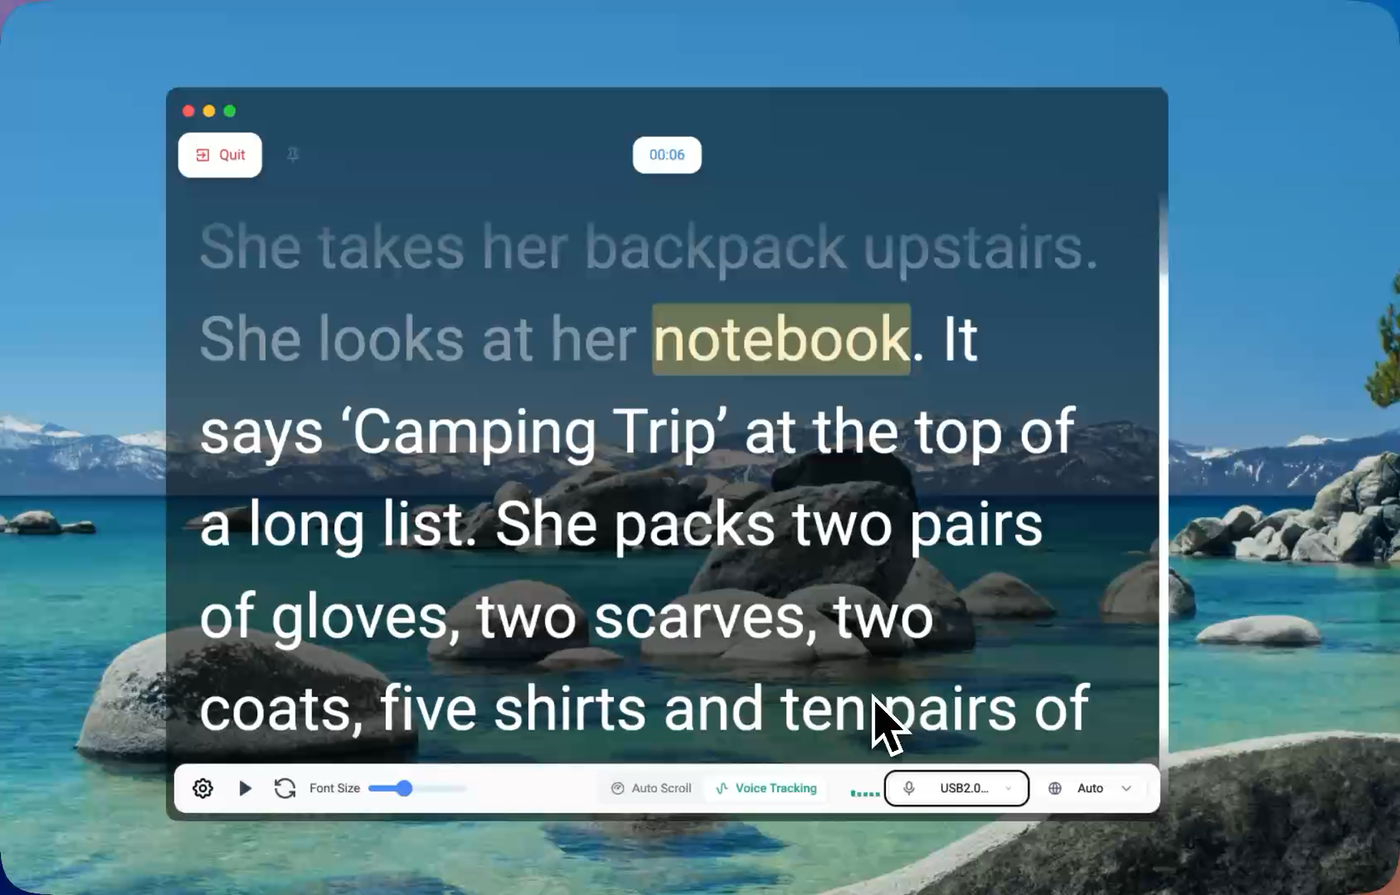
Move the transparent prompt over Meet so the material and meeting remain visible at the same time.
Step 9: Hide the Prompt From Screen Sharing and Recording
Turn on FlowPrompter's private overlay option when you want the teleprompter to remain private. With this desktop feature enabled, your copy stays visible to you while remaining hidden in supported screen sharing, recording, and screenshots. That means you can read your notes during a Meet presentation without showing your material to participants.
This is not the same as lowering opacity. A transparent window can still be part of a captured screen unless it is explicitly hidden. Enable the privacy setting before you begin sharing or recording, then make a short test with the same screen and sharing mode you plan to use. Google documents the available choices in its Meet presentation guide.
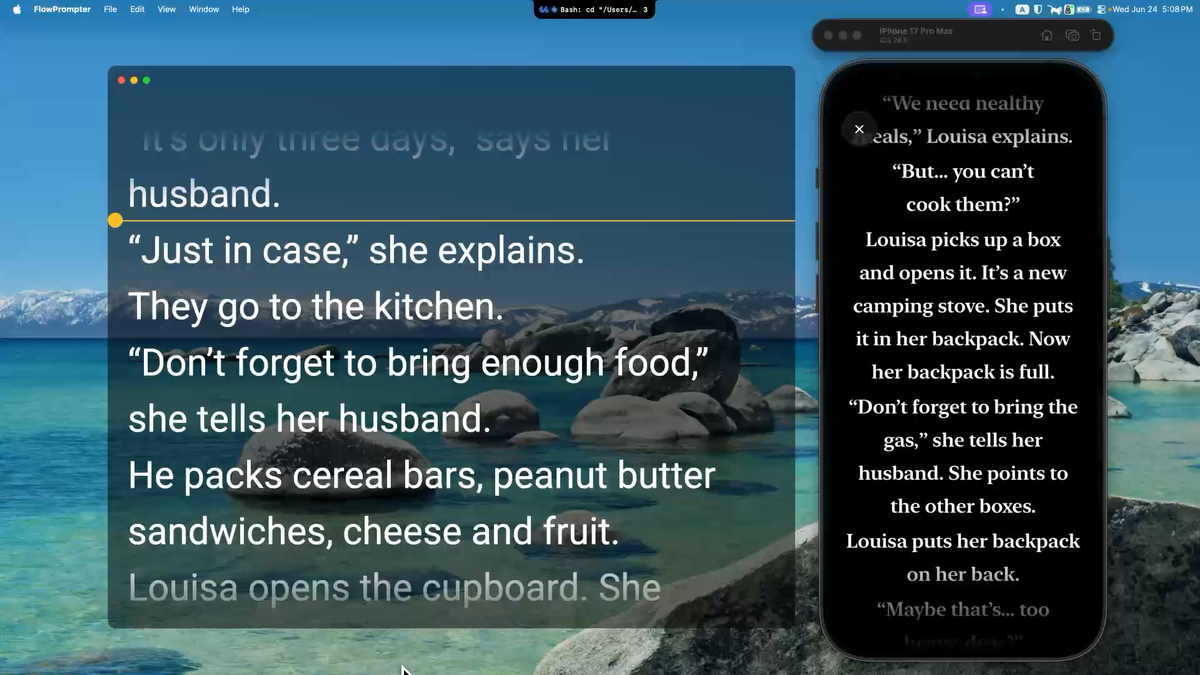
The desktop workflow keeps the words available to the presenter while the audience sees the intended meeting content.
Which Scrolling Mode Should You Use in Meet?
Use Speech Following for Interactive Meetings
Choose adaptive scrolling when people may interrupt, ask questions, or change the order of the discussion. It is also useful for product demonstrations because you may pause while clicking through an interface. The script follows your spoken words instead of continuing without you.
Use Auto Scroll for Rehearsed Delivery
Choose timed scrolling for a webinar introduction, executive announcement, formal opening, or another section with a known duration. Rehearse once, adjust the speed, and add blank lines where you want to pause.
Switch Modes for Different Parts of the Same Call
You do not have to use one mode for the entire meeting. A practical setup is fixed-speed scrolling for a rehearsed opening, spoken-word tracking for the main presentation, and paused or manual control during open questions.
How Do You Keep the Delivery Natural?
Keep sentences short: long paragraphs make your eyes scan across the screen.
Place your script near the camera: this reduces obvious downward or sideways glances.
Use spoken language: contractions and shorter phrases sound more natural than report-style prose.
Pause for the audience: do not let a fixed scrolling speed prevent you from reacting to the meeting.
Keep Meet visible: adjust opacity so you can notice reactions, chat, and presentation changes behind the reading content.
Test privacy before sharing: verify that the capture privacy feature is active before displaying confidential notes.
What Should You Check Before the Meeting Starts?
Google Meet is open and using the correct camera and microphone.
the Windows or Mac app is running separately.
Your script has been created or imported.
You clicked Prompter and opened the floating reading window.
A speech-following or fixed-speed mode is selected.
The correct recognition language is selected for voice-paced scrolling.
Opacity is adjusted from the lower-right settings.
The reading window is positioned over Meet without blocking important controls.
Hidden-window mode is enabled if you will share or record.
A short test confirms that participants cannot see the lines.
Frequently Asked Questions
Does FlowPrompter run inside Meet?
No. Open Google Meet first, then launch the desktop version separately. The prompting window floats above the Meet interface.
Can I import an existing script?
Yes. You can prepare a new script in FlowPrompter or import existing material, then click Prompter to open the reading window.
Can FlowPrompter follow my voice?
Yes. The speech-following mode recognizes your speech and advances your notes with your delivery. Select the correct spoken language and allow microphone access before starting.
How many languages does speech recognition support?
The official website currently lists 14 languages: English, Spanish, German, French, Portuguese, Dutch, Russian, Japanese, Korean, Simplified Chinese, Traditional Chinese, Arabic, Hindi, and Malay.
Can I use a steady scrolling speed instead?
Yes. Choose constant-speed movement when you prefer a predictable pace. It works best for rehearsed or timed sections.
How do I see Meet behind the teleprompter?
Open the lower-right settings in the reading window and reduce its opacity. Then place the transparent window over Meet.
Will other people see the overlay copy when I share my screen?
the application includes a private-window option designed to keep the copy visible to you while excluding it from supported screen sharing, recording, and screenshots. Enable it before sharing and run a quick test with the exact Meet sharing mode you plan to use.
Is transparency the same as hiding the prompt?
No. Transparency lets you see Meet through the material. Hidden-window mode keeps the teleprompter copy out of supported captures. Use both when you want to see the meeting clearly and keep your notes private.
Final Setup
The correct Google Meet workflow is straightforward: open Meet, open the desktop app separately, create or import the prepared content, click Prompter, choose spoken-word control or auto scroll, select the spoken language, adjust opacity, position the overlay over Meet, and turn on the capture-hiding setting when sharing or recording.
This setup lets you read naturally while continuing to see the meeting. More importantly, it uses FlowPrompter's desktop privacy feature for the task it was designed to solve: keeping your script available to you without putting it in front of the audience. Download or open FlowPrompter and test the complete workflow before your next Google Meet call.