Quick answer: course creators do not need to memorize complete lessons. Build each module as short teaching blocks, keep the current block near the camera, and choose a teleprompter that can follow your pace while you record. Choose desktop when students need to see slides or software; choose a phone camera when you are the main visual. Record a 20-second test before every batch.
This workflow solves a specific production problem: you know the subject, but the camera makes you forget the sequence, repeat sentences, or look away at notes. A useful teleprompter does not replace your expertise. It keeps the teaching structure visible so you can spend attention on explaining the material.
The method below is designed for coaches, educators, subject-matter experts, and training teams producing several lessons, not only a single short video.
Choose the recording setup by what students need to see
The right course-recording setup depends on what carries the teaching. If students must watch a browser, slide deck, spreadsheet, or application, record the computer screen. If your explanation and presence carry the content, record a talking-head video. If both matter, divide the module into screen and camera segments rather than forcing one layout to do everything.
Lesson type | Recommended setup | Why it fits |
|---|---|---|
Software tutorial | Desktop screen recording with private notes | Students see each action while you keep the sequence and terminology nearby. |
Slide-based lecture | Desktop capture or presentation recording | Your outline can sit near the camera while the slides remain clean. |
Coach or expert lesson | Phone or webcam talking-head recording | The script stays close to the lens, which reduces obvious downward glances. |
Hybrid lesson | Short camera introduction, screen demonstration, camera summary | Each segment uses the view that best explains the material. |
Live cohort session | Invisible desktop prompt beside the meeting window | You can follow an agenda without exposing private notes in the share. |
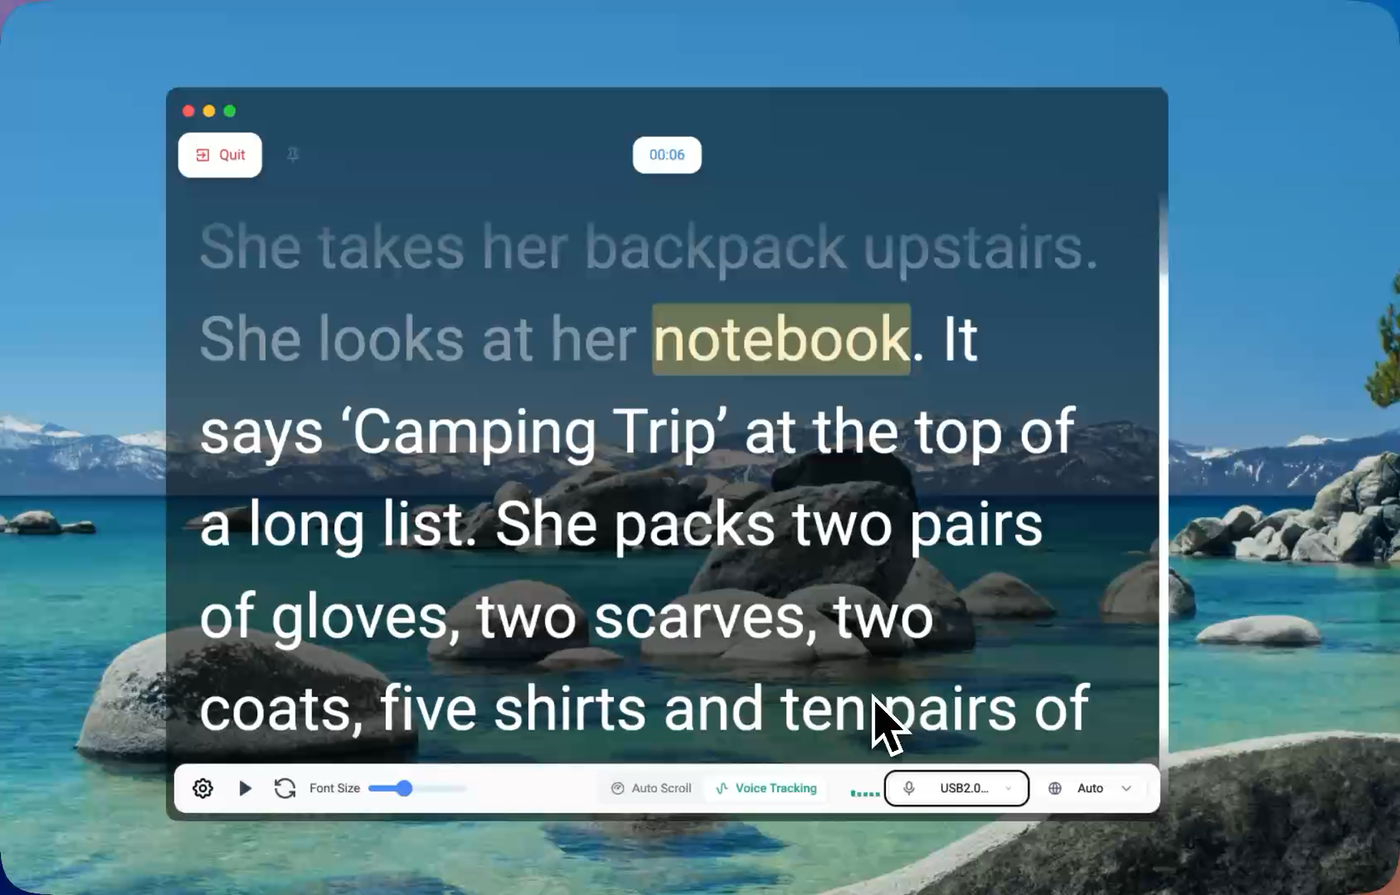
Start by matching the prompting and recording mode to the material students need to watch.
Turn a lesson outline into a script you can teach from
Do not paste an essay into a teleprompter. A course script should show the teaching sequence, not every possible sentence. Use five blocks for most lessons:
Outcome: tell students what they will be able to do.
Context: explain why the skill matters and when to use it.
Steps: teach one action or idea at a time.
Check: show the expected result or a common mistake.
Next action: give students one exercise or transition.
For example, a dense opening such as “In this comprehensive module, we will examine the complete workflow for configuring your account and explore several advanced settings” is difficult to deliver and vague for students.
A stronger opening is: “By the end of this lesson, you will have a working account. We will create it, set two privacy options, and test the login.” The second version gives the speaker three visible beats and gives the student a concrete outcome.
Federal plain-language guidance recommends writing for a specific audience and making content clear and easy to understand. That principle matters even more in video because students must listen while also watching the demonstration. See the Digital.gov plain-language guide and the CDC’s 20-item Clear Communication Index.
Format the material as short teaching blocks so each visible section corresponds to one idea or action.
Use a private prompt for slide and software lessons
For screen-based teaching, the key requirement is simple: you should see the notes, but students should not. FlowPrompter Desktop can capture a selected screen or application while your outline remains available in the recording workspace. With Invisible Window enabled, or after choosing to hide the prompt before capture, the text stays out of the finished video.
A practical screen-lesson script pairs narration with actions:
Prompt cue | What you do | What the student learns |
|---|---|---|
“Open Settings.” | Move the cursor and open the menu. | Where the workflow begins. |
“Choose Privacy.” | Select the relevant tab. | Which option controls the result. |
“Turn off public sharing.” | Change one setting. | The exact action to copy. |
“Look for the lock icon.” | Pause on the result. | How to verify success. |
This cue-action-result pattern prevents a common course-recording failure: explaining the next step while the cursor is still completing the previous one. It also makes editing easier because every section has a clear visual boundary.
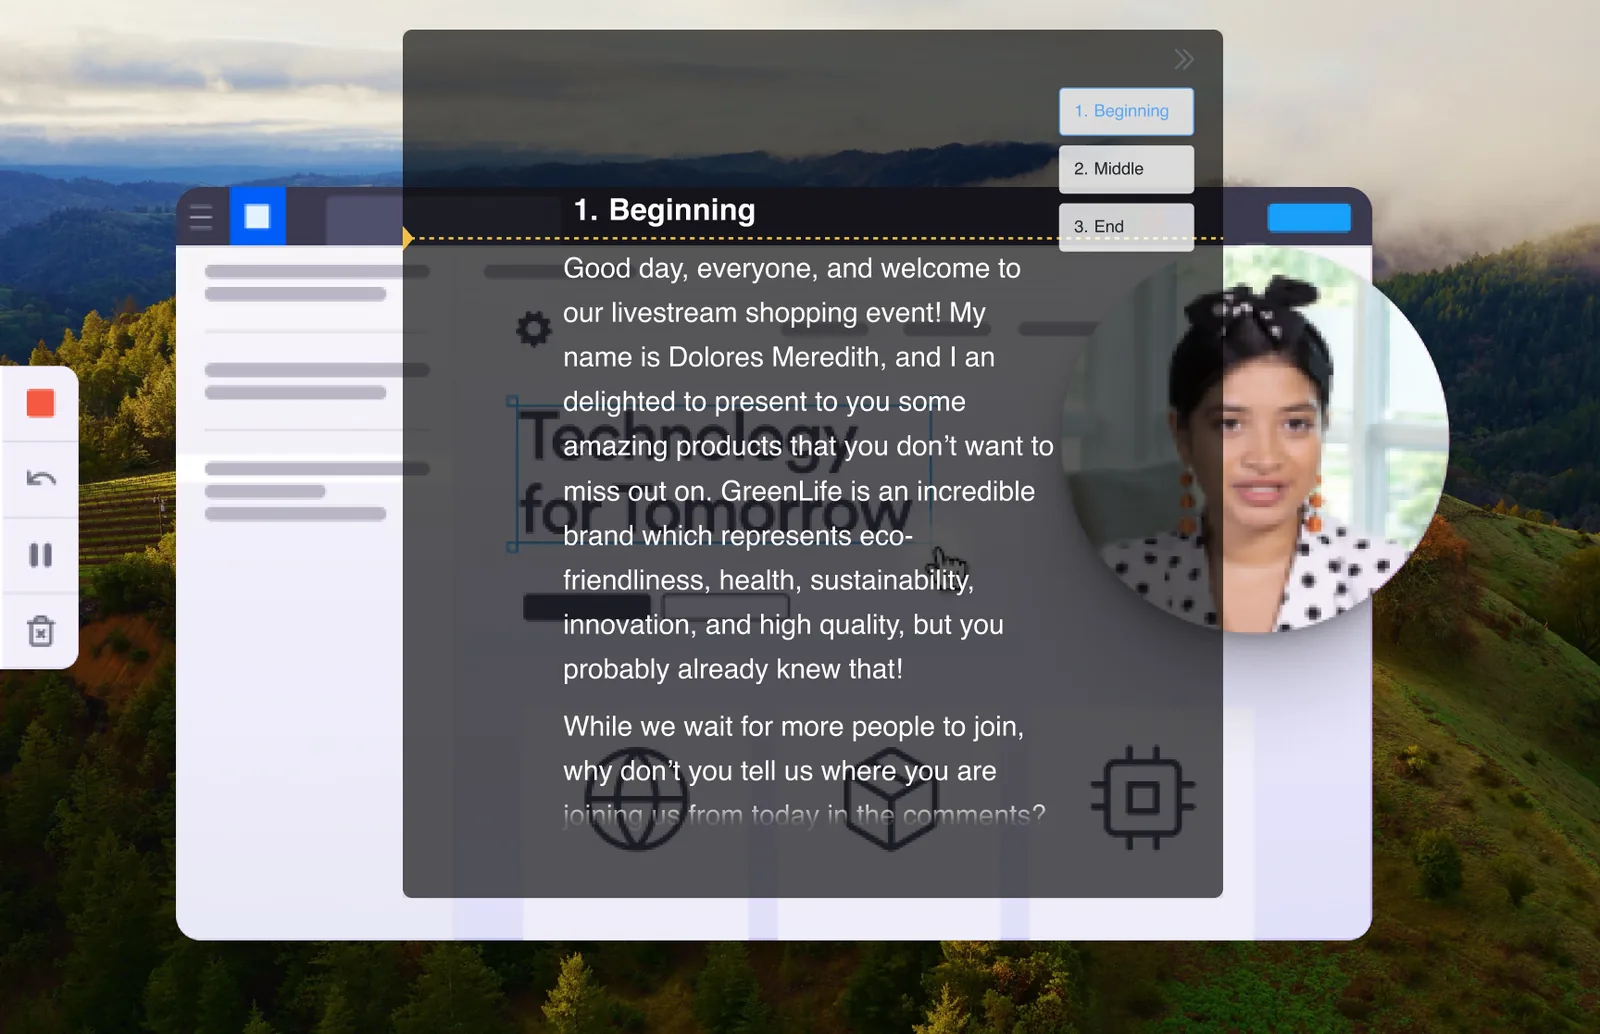
The presenter can follow the teaching sequence while demonstrating the real interface.
Let the prompt follow explanations with variable pacing
Fixed scrolling works for tightly timed narration; speech-following movement is usually more forgiving for teaching. During a course recording, you may pause on an example, repeat a definition, or add an unscripted clarification. A fixed-speed prompt keeps moving. A voice-controlled prompt can wait and resume when you return to the wording.
FlowPrompter’s voice mode follows speech, pauses when you pause, and supports 14 languages. This is useful for long explanations where touching a keyboard, phone, remote, or pedal would interrupt the recording.
Choose fixed scrolling when the video must hit an exact duration. Choose speech-following movement when clarity and flexible pacing matter more than a fixed finish time. For mixed content, let speech control explanation blocks and switch to manual control around demonstrations that may need extra time.
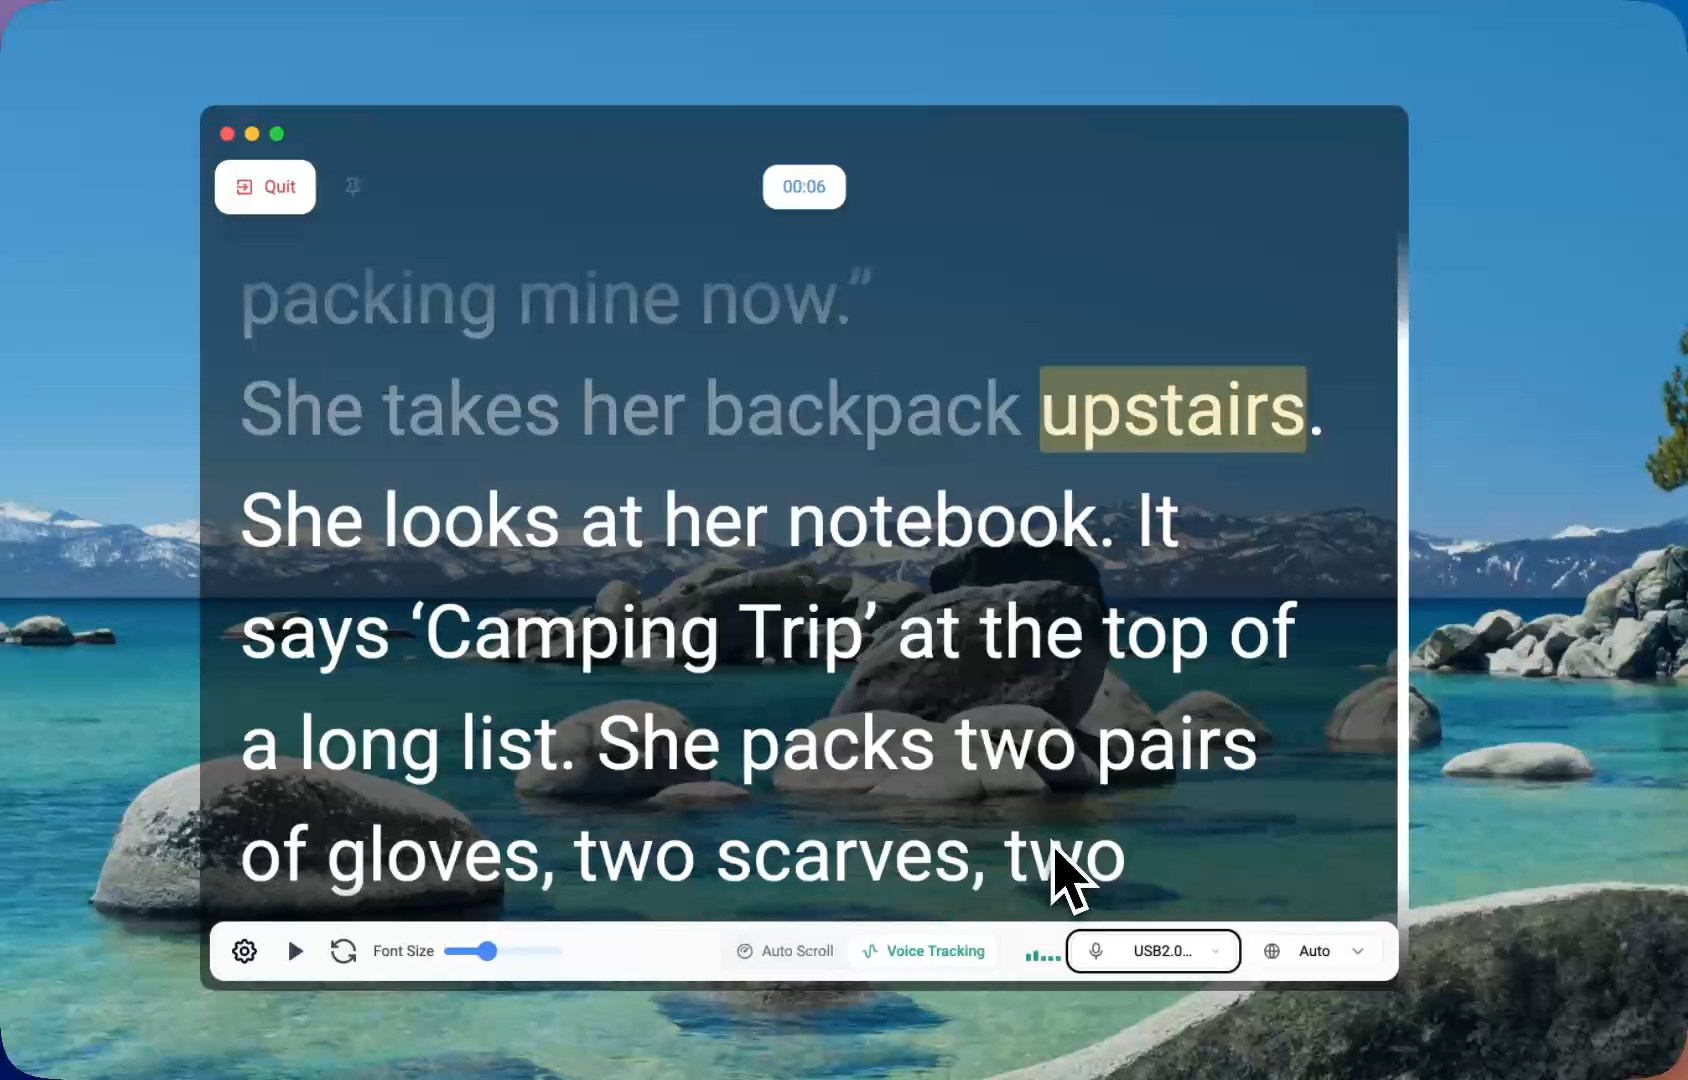
Speech-following movement lets the text wait during examples, pauses, and unscripted clarification.
Record a course in batches without multiplying mistakes
Batch recording saves time only when the setup is verified before the first full lesson. Use this seven-step sequence:
Prepare two or three lesson scripts, not an entire course.
Set the camera, microphone, prompt width, and text size once.
Record a 20-second sample with the real slides or application.
Confirm that the prompt is absent from the exported file.
Check sound, eye line, cursor movement, and text pace.
Record one complete lesson and review it before continuing.
Only then record the rest of the batch.
This sequence catches expensive failures early: a visible prompt, silent microphone, unreadable interface, rushed narration, or a script placed too far from the camera. FlowPrompter Desktop saves MP4 files locally on supported Mac and Windows computers. The official recorder page lists macOS 13 or later and 64-bit Windows 10 version 2004 or later as the platform floors.
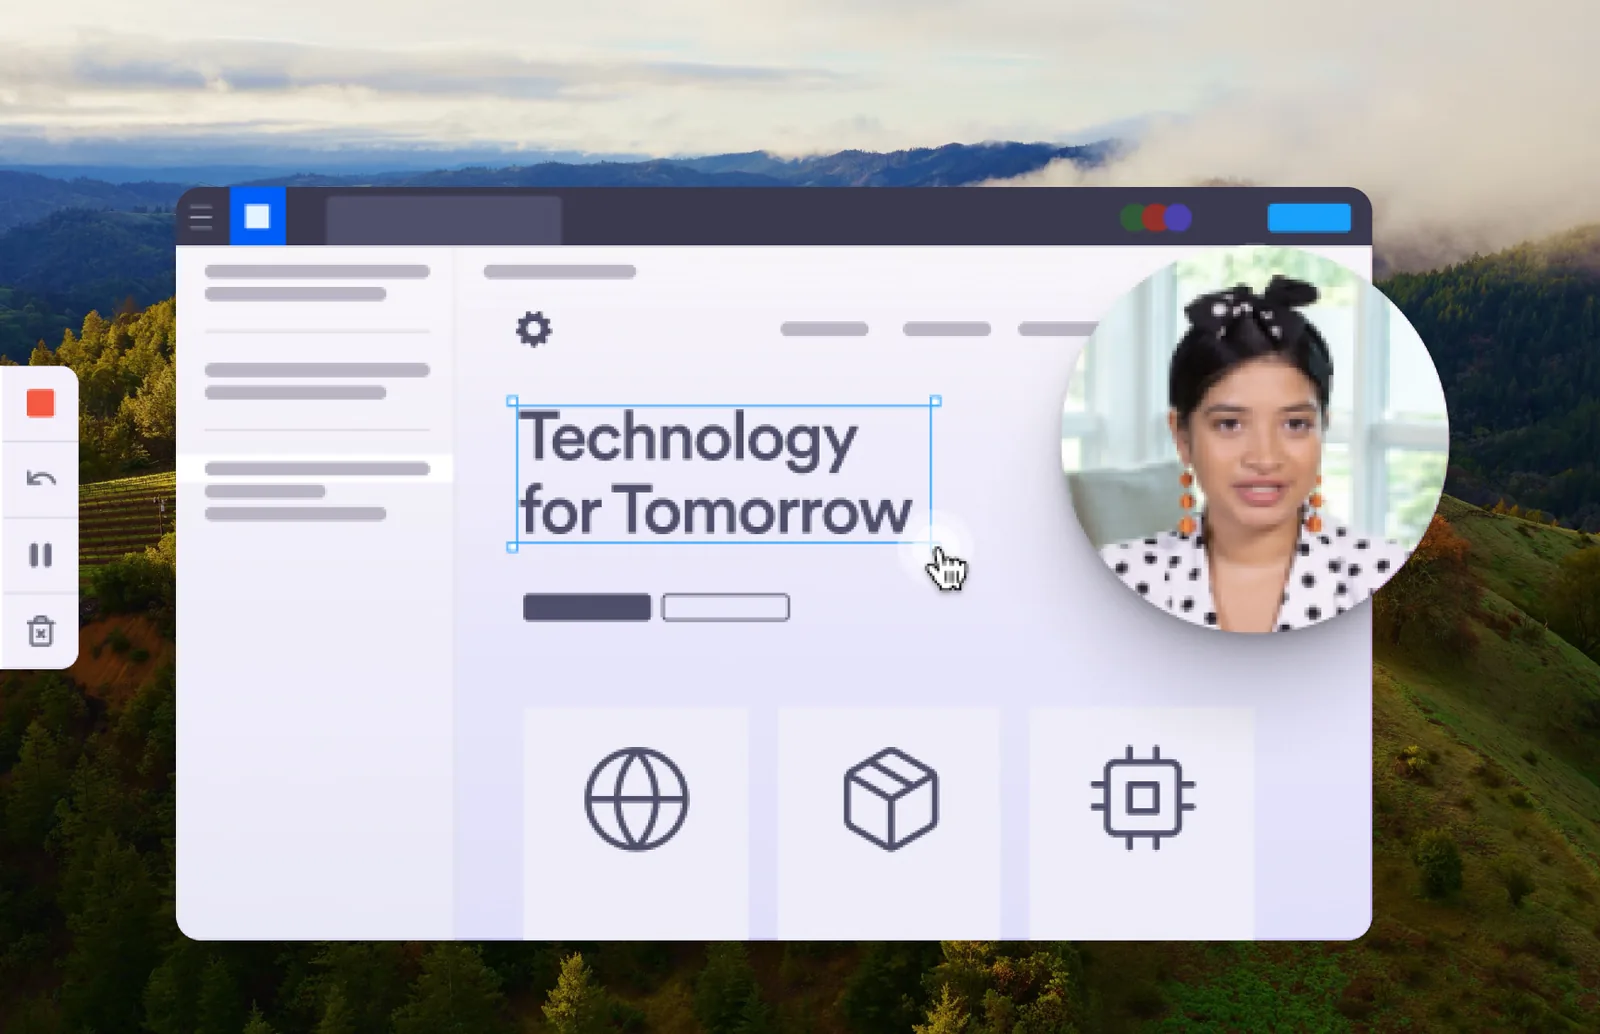
Inspect the exported sample before committing to a batch of full lessons.
Keep eye contact natural in talking-head lessons
Place the active line as close to the physical lens as possible. A large script at the bottom of the screen creates obvious eye movement. A narrow reading column with only a few visible lines makes the gaze easier to control.
For phone recording, use the front camera preview with the script positioned near the lens. For a webcam, move the prompt window directly below or beside the camera rather than centering it on the monitor. Increase font size before widening the text area.
Do not try to erase every natural pause. Students are more likely to trust a teacher who stops to think than a speaker who races through a perfect paragraph. Use the prompt to preserve sequence and accuracy, not to flatten your delivery.
Write production notes that help instead of distract
Stage directions should be short enough to understand at a glance. Useful cues include:
Examples include [show example], [pause], [switch to slide 4], [define the term], and [student exercise].
Avoid paragraphs of production instructions inside the spoken text. If a cue requires several steps, put it on a separate line and use a consistent marker. This lets your eyes distinguish “say this” from “do this” immediately.
Use this lesson-script template
LESSON OUTCOME
By the end of this lesson, you will be able to...

WHY IT MATTERS
Use this when...

STEP 1
Say: ...
Do: [show the first action]
Check: students should see...

STEP 2
Say: ...
Do: [show the second action]
Check: students should see...

COMMON MISTAKE
If this happens, check...

PRACTICE
Pause the lesson and try...

NEXT LESSON
Next, we will...
This template is intentionally shorter than a lecture transcript. It protects the learning sequence while leaving room for your expertise and examples.
Which FlowPrompter workflow fits your course?
If you are recording... | Start here | Primary benefit |
|---|---|---|
Slides, browser, or software | Prompt and capture in the same workspace. | |
A live class or presentation | Keep notes private during screen sharing. | |
A long explanation | The text follows pauses and changes in pace. | |
A direct-to-camera phone lesson | Keep the script near the phone camera. | |
A quick webcam lesson | Capture a camera-only clip without installing Desktop. |
The strongest product fit is not “every teacher needs every feature.” It is narrower: course creators need a repeatable way to keep lesson structure visible while the student sees a clean recording. Choose the smallest workflow that solves that problem.
Frequently asked questions
Should course creators use a full script or bullet points?
Use a full script for definitions, legal wording, names, numbers, and important transitions. Use concise teaching blocks or bullets for explanations you already know well. Most courses benefit from a hybrid rather than a word-for-word transcript.
Can I use a teleprompter while recording my screen?
Yes. Choose a desktop prompt designed to stay out of the captured output, and verify it with a short test. FlowPrompter Desktop can keep your notes available while capturing the screen or application being demonstrated.
How do I avoid sounding as if I am reading?
Write for speech, keep sentences short, show only a few lines, and leave room to pause. Position the active line near the camera. If you stumble over the same phrase twice, rewrite the phrase instead of rehearsing it repeatedly.
Is speech-following movement better than auto scroll for course videos?
Speech-following movement is usually better for explanations because it can wait during pauses and examples. Auto scroll is useful when timing must be predictable. Choose according to the recording, not according to a universal setting.
Can I record an entire course in one day?
You can batch several lessons, but review the first complete lesson before recording the rest. Fatigue, audio problems, and unclear demonstrations become expensive when repeated across a full course.
Start with one lesson, not the whole course
Choose one representative module, turn it into the five-block structure, and test the recording mode your course actually needs. For a demonstration, try the screen recorder with teleprompter. For explanation-led content, try the voice-following prompt.
The goal is not to read every word perfectly. It is to record accurate, clear teaching without spending your energy memorizing material you already understand.