Screen Recorder Meets Teleprompter: Record Your Screen or Yourself with FlowPrompter
FlowPrompter combines the two tools scripted creators usually open separately: a Loom-like recorder and a teleprompter. On Mac or Windows, you can record a screen or app window while reading a private prompt. On iPhone or Android, you can record yourself with your words over the live preview. The result is one practical workflow for software tutorials, product demos, online lessons, sales updates, and talking-head videos.
The important distinction is where the recording happens. Use FlowPrompter Desktop when viewers need to see your computer screen. Use FlowPrompter Mobile when viewers need to see you. In both cases, your notes stay close enough to the lens or demonstration that you can explain the next step without repeatedly looking down.
TL;DR: FlowPrompter offers 3 recording paths: Desktop captures a computer screen while keeping a prompt available; Mobile records a person with words over the camera preview; the browser webcam tool captures a quick camera-only clip. Choose Desktop for tutorials and demos, Mobile for talking-head video, and run a 20-second test before a long take.
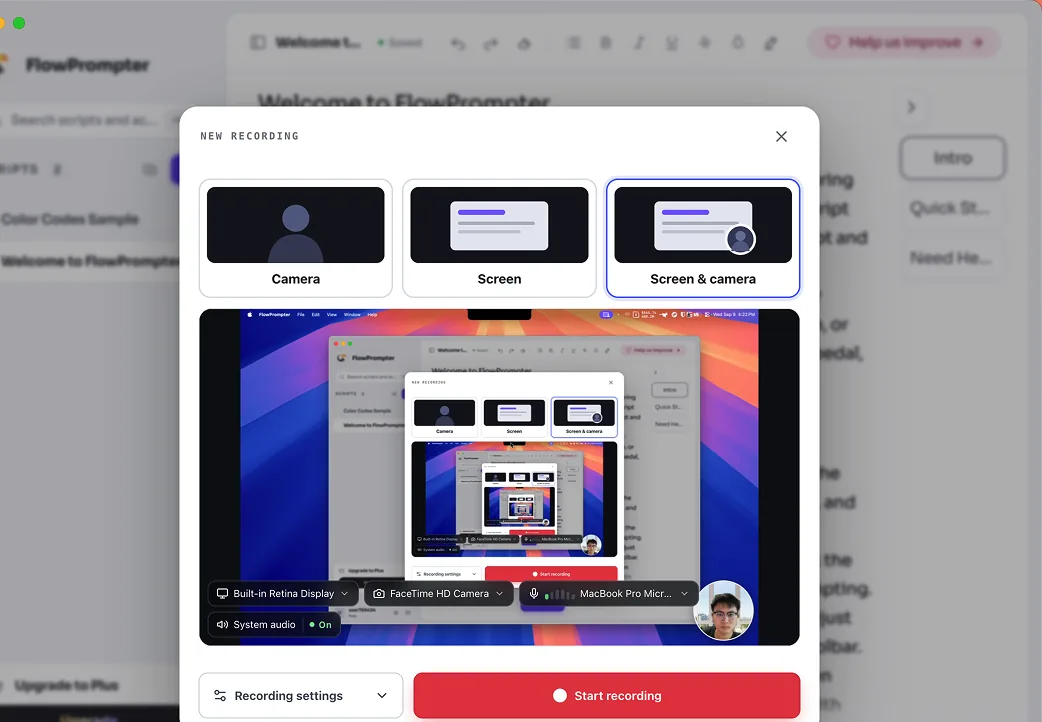
FlowPrompter Desktop puts the script and screen-recording controls in the same workspace.
What Does “Loom Plus a Teleprompter” Mean?
A Loom-style workflow makes it quick to explain something on your screen. A teleprompter solves a different problem: it keeps your wording, sequence, names, and call to action in sight while you speak. FlowPrompter connects those jobs so you do not have to memorize every line, place notes on a second monitor, or switch between a document and a recorder.
That combination matters most when the video has to be both visual and precise. A product walkthrough may require six clicks in the correct order. A course lesson may need a definition stated exactly. A sales demo may end with a specific next step. The recorder captures what happens; the teleprompter protects the narrative.
Video job | Best FlowPrompter workflow | What the viewer sees | What you see |
|---|---|---|---|
Software tutorial | Desktop screen recorder | Your selected screen or app window | The demonstration plus your private notes |
Product demo | Desktop screen recorder | The product workflow and narration | Feature names, sequence, and talking points |
Online lesson | Desktop screen recorder | Slides, browser, or teaching material | Your lesson outline near the content |
Talking-head video | iPhone or Android recording | You speaking to the camera | The camera preview with your script over it |
Quick webcam message | Browser webcam recorder | A camera-only video | Your live preview; use prompting separately if needed |
Record Your Screen While Following a Script
FlowPrompter Desktop records a selected screen or window while keeping your talking points available during the take. It runs on supported Mac and Windows computers and saves the finished recording as an MP4. This is the closest match to the familiar async screen-video workflow: open the material you want to explain, choose the capture source, select the microphone or available system audio, and record.
The difference is that your notes live in the recording workspace. You can outline the introduction, list the clicks in order, write exact product terminology, and prepare the closing call to action before the red light comes on. Instead of improvising around the cursor, you can coordinate what the viewer sees with what the viewer hears.
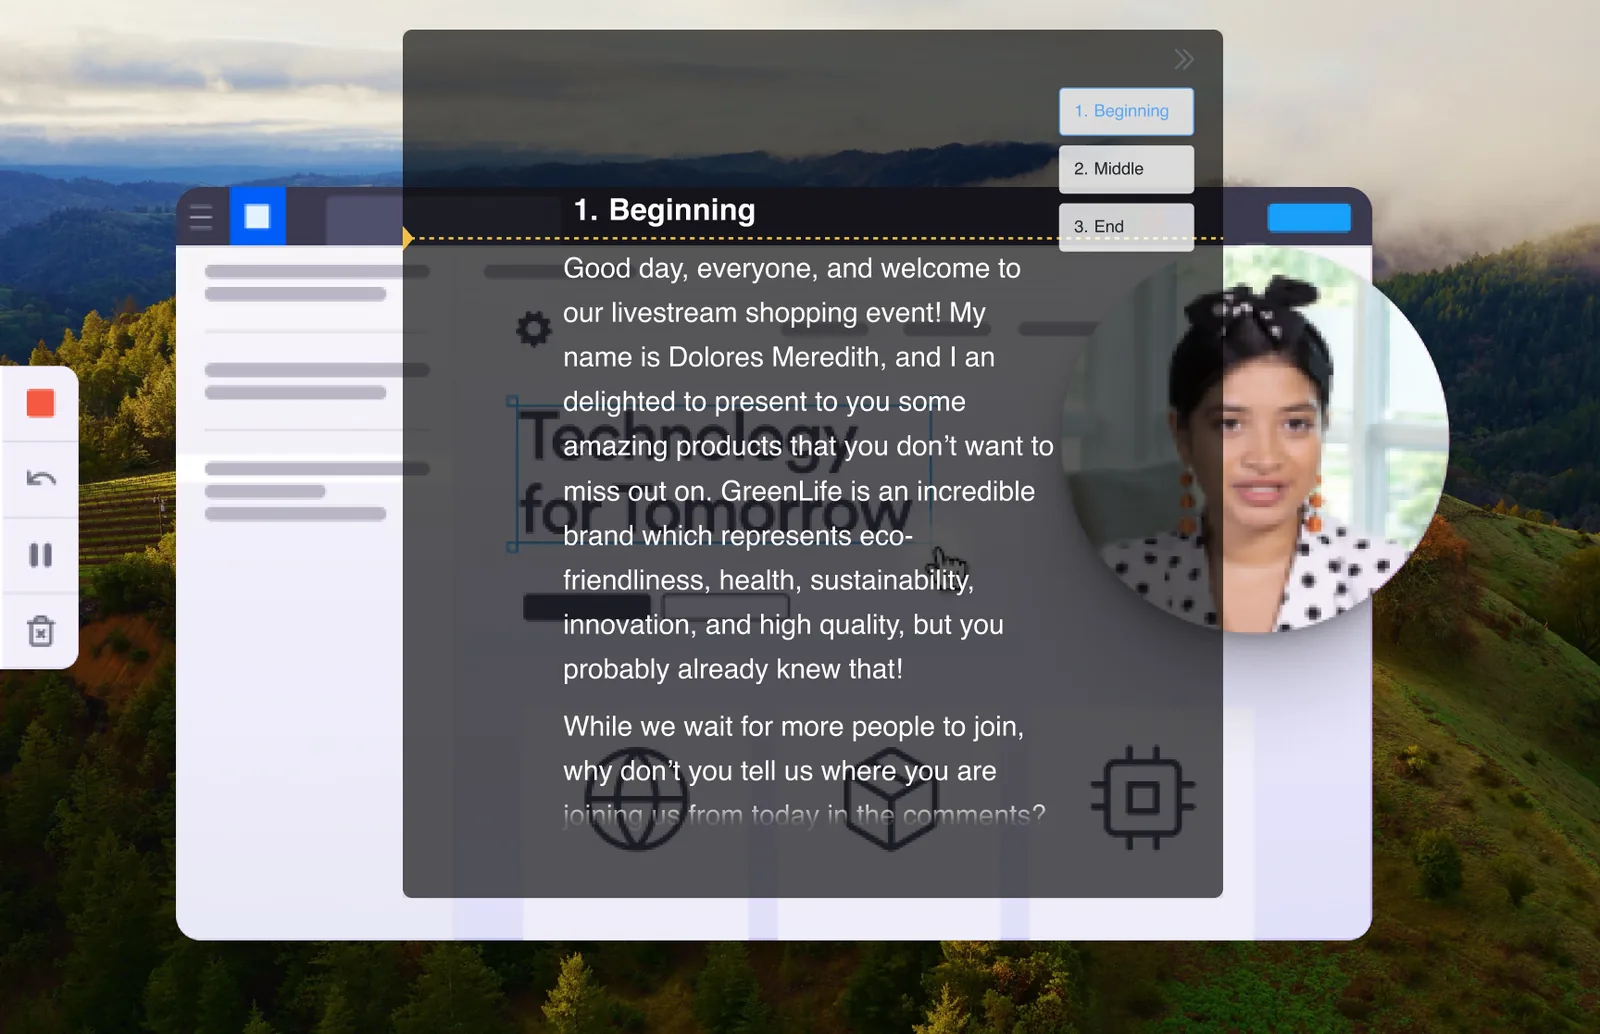
The presenter can follow prepared talking points while walking through the screen.
Keep the Teleprompter Out of the Finished Video
When Invisible Window is enabled, or when you choose to hide your notes before recording, the words can remain available to you without appearing in the exported take. If the reading window is left visible on the display being captured, it may appear in the file, so the responsible workflow is to record a 20-second sample and inspect it before making a long lesson or client video.
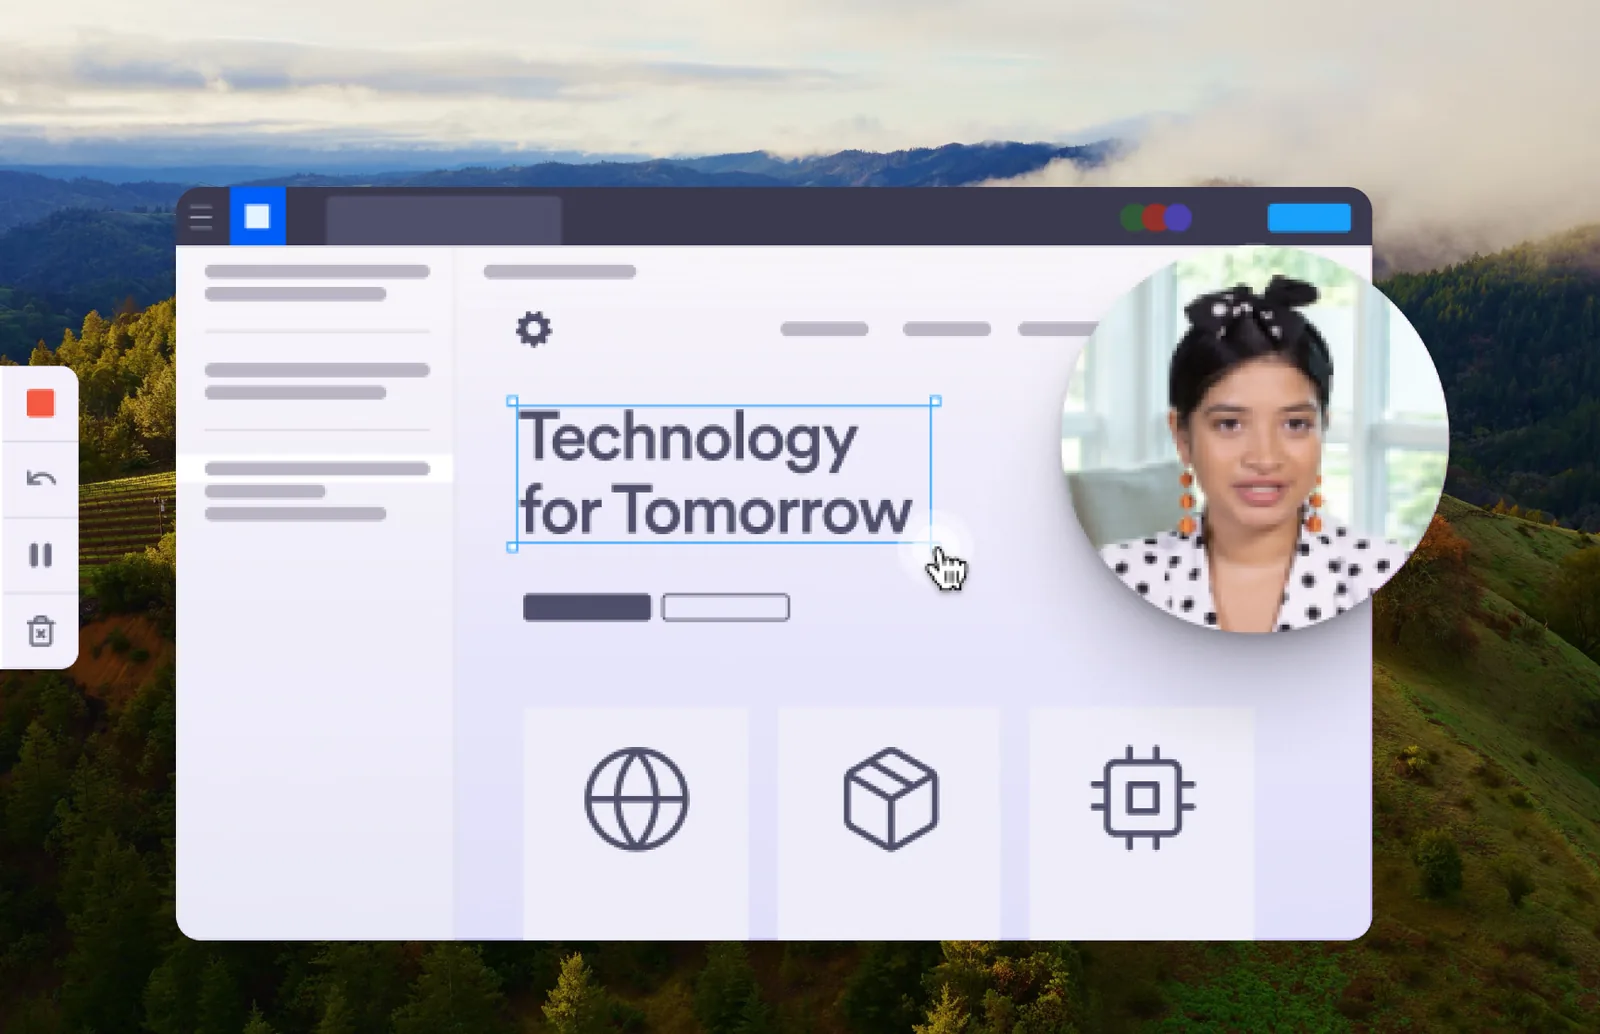
The exported view contains the demonstration without the reading window when the hidden-note workflow is used.
Record Yourself While Reading Naturally
FlowPrompter Mobile turns the phone into a camera and teleprompter in one interface. On iPhone or Android, your text appears over the live camera preview, close to the front-facing lens. You can record a direct-to-camera video without placing a laptop beside the phone or trying to remember every line.
This workflow fits YouTube introductions, TikTok and Instagram videos, course welcomes, founder updates, sales messages, and short explainers. Keep the active reading area narrow, show only a few lines at once, and position the text close to the lens. The smaller the distance between the words and the camera, the less obvious your eye movement will be.
On iPhone, your words sit over the camera preview so you can record yourself as you read.
The Android recording view follows the same basic idea: your camera preview, script, playback controls, and record button share one screen. Because Android hardware varies, test orientation, microphone input, text size, and screen-dimming behavior on the actual phone before recording a long take.
Why Combining Prompting and Recording Saves Retakes
Many failed scripted videos are coordination failures rather than camera failures: the speaker forgets the next point, names a feature incorrectly, performs steps in the wrong order, or finishes without the planned call to action. A combined recorder and teleprompter addresses those risks because your notes can describe both the spoken line and the next visual action.
A useful screen-demo outline is not a wall of narration. Write it as a sequence of paired cues:
Say the goal. Tell the viewer what the next step will accomplish.
Perform one visible action. Click, type, select, or move to the relevant screen.
Explain the result. Describe what changed and why it matters.
Pause before the next step. Give the interface and the viewer time to catch up.
For a talking-head video, replace visual actions with delivery cues such as pause, smile, or show the product. This makes the on-screen copy a lightweight run-of-show rather than a paragraph you race to finish.
A Five-Step Workflow for a Scripted Screen Recording
Write a short spoken outline. Include the opening promise, each demonstration step, exact names or numbers, and the final action you want the viewer to take.
Open the script in FlowPrompter Desktop. Shorten long paragraphs until each displayed line corresponds to one spoken idea.
Choose the screen or window to capture. Grant only the screen, microphone, or system-audio permissions your recording needs.
Configure note visibility and pacing. Use Invisible Window when your words must stay out of the take. Choose manual scrolling for precise control or voice tracking when your pace may change.
Record and inspect a short test. Check the captured source, audio, cursor movement, eye line, text visibility, and save location before recording the full video.
According to the official screen-recorder guide, Desktop supports macOS 13 or later and 64-bit Windows 10 version 2004 or later. It saves MP4 files locally, with default folders under Movies/FlowPrompter on Mac and Videos/FlowPrompter on Windows. For context, Apple documents screen and system-audio permission controls in macOS Privacy & Security, while Microsoft explains app access to cameras in Windows camera settings.
Which Recording Mode Should You Choose?
Choose the mode based on what the audience needs to watch. If the lesson lives inside a browser, slide deck, spreadsheet, or app, record the computer screen with Desktop. If your face and delivery are the content, record yourself on iPhone or Android. If you only need a quick camera-only clip in a browser, FlowPrompter also offers a free webcam recorder that records locally and does not capture the desktop.
Desktop screen recording: tutorials, product tours, onboarding, narrated presentations, course modules.
Mobile person recording: Shorts, Reels, TikToks, announcements, talking-head explainers.
Browser webcam recording: quick camera messages when you do not need to show the computer screen.
These 3 modes are related, but they are not interchangeable. The online webcam tool records the camera in a browser; it does not record your desktop. The Desktop recorder captures the computer screen. Mobile records direct-to-camera video on the phone.
Frequently Asked Questions
Is FlowPrompter a Loom alternative?
FlowPrompter offers a Loom-like screen-recording workflow, but its defining feature is the built-in teleprompter. It is especially useful when your screen video must follow prepared wording. Product features, collaboration tools, hosting, and plan limits differ, so compare them against your actual workflow rather than treating the products as identical.
Can FlowPrompter record both the screen and a person?
FlowPrompter supports screen recording on Desktop and direct camera recording on Mobile. The official Desktop screen-recorder page notes that camera and screen-plus-camera modes exist in the product, but that page currently documents and illustrates the screen-recording workflow. Verify the current downloaded version before depending on a particular combined-camera layout.
Will the script appear in the recording?
Not when you use the supported hidden-note workflow, such as Invisible Window or hiding your words before capture. If you keep the reading window visible on the captured display, it may be included. Always check a short test file.
Can I record myself on a phone while reading?
Yes. The iPhone and Android apps display the script over the live camera preview, allowing you to record a talking-head video while reading near the lens.
One Script, Two Ways to Record
FlowPrompter is useful because it treats prepared wording as part of production rather than something you abandon when recording begins. On Desktop, that script guides a clean screen walkthrough. On Mobile, it helps you record yourself while maintaining a more natural eye line. The shared principle is simple: keep the words beside the work, then capture the version your audience needs to see.
Start at FlowPrompter, use Desktop for scripted screen recordings, or open the mobile app when the camera should point at you.